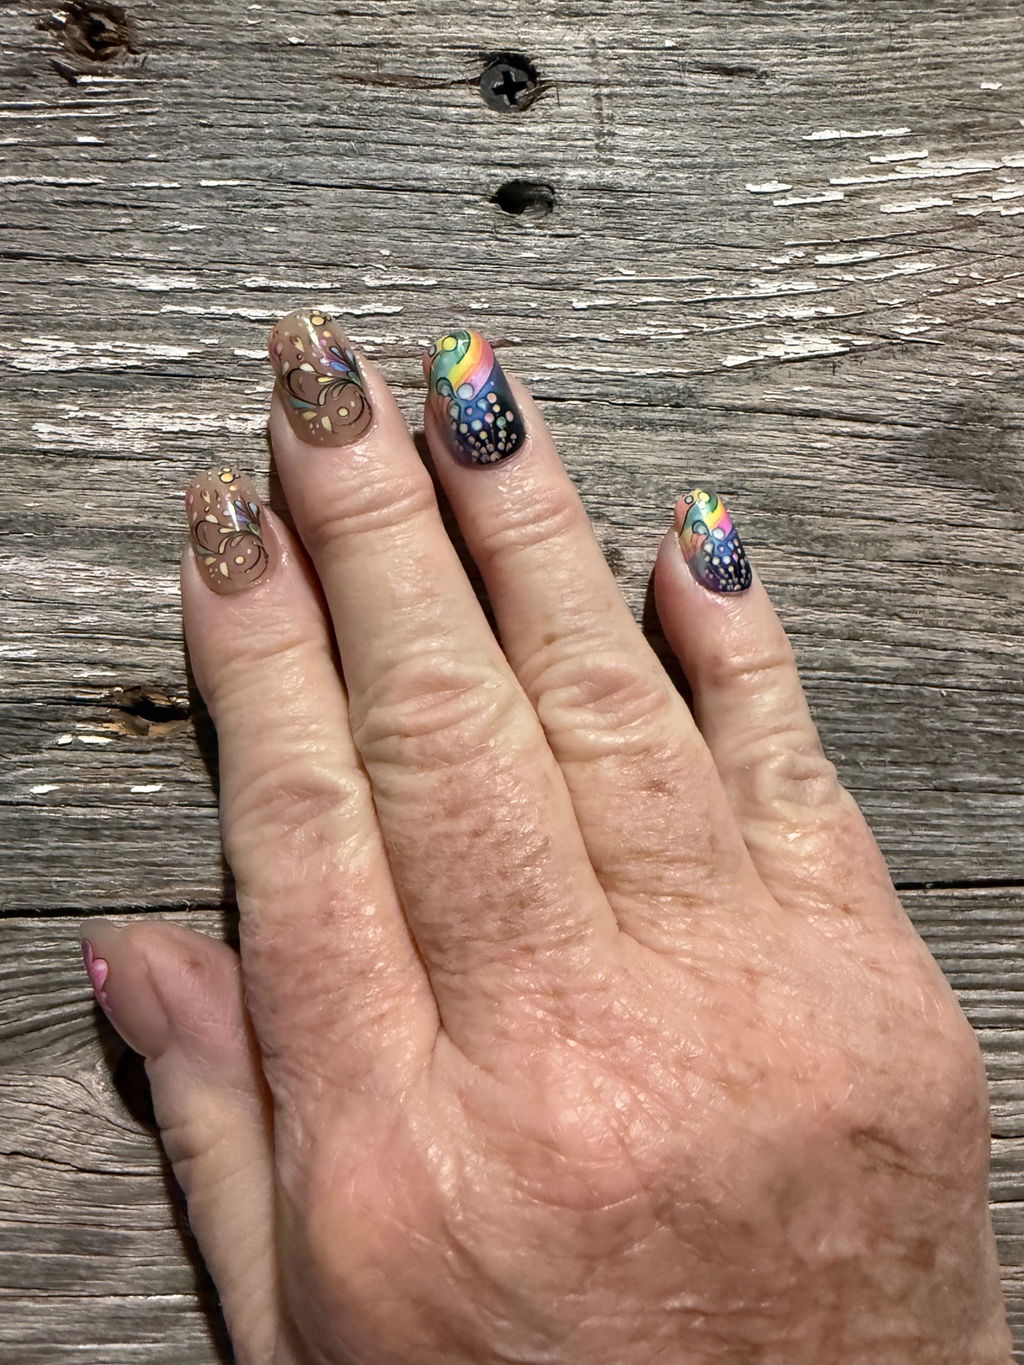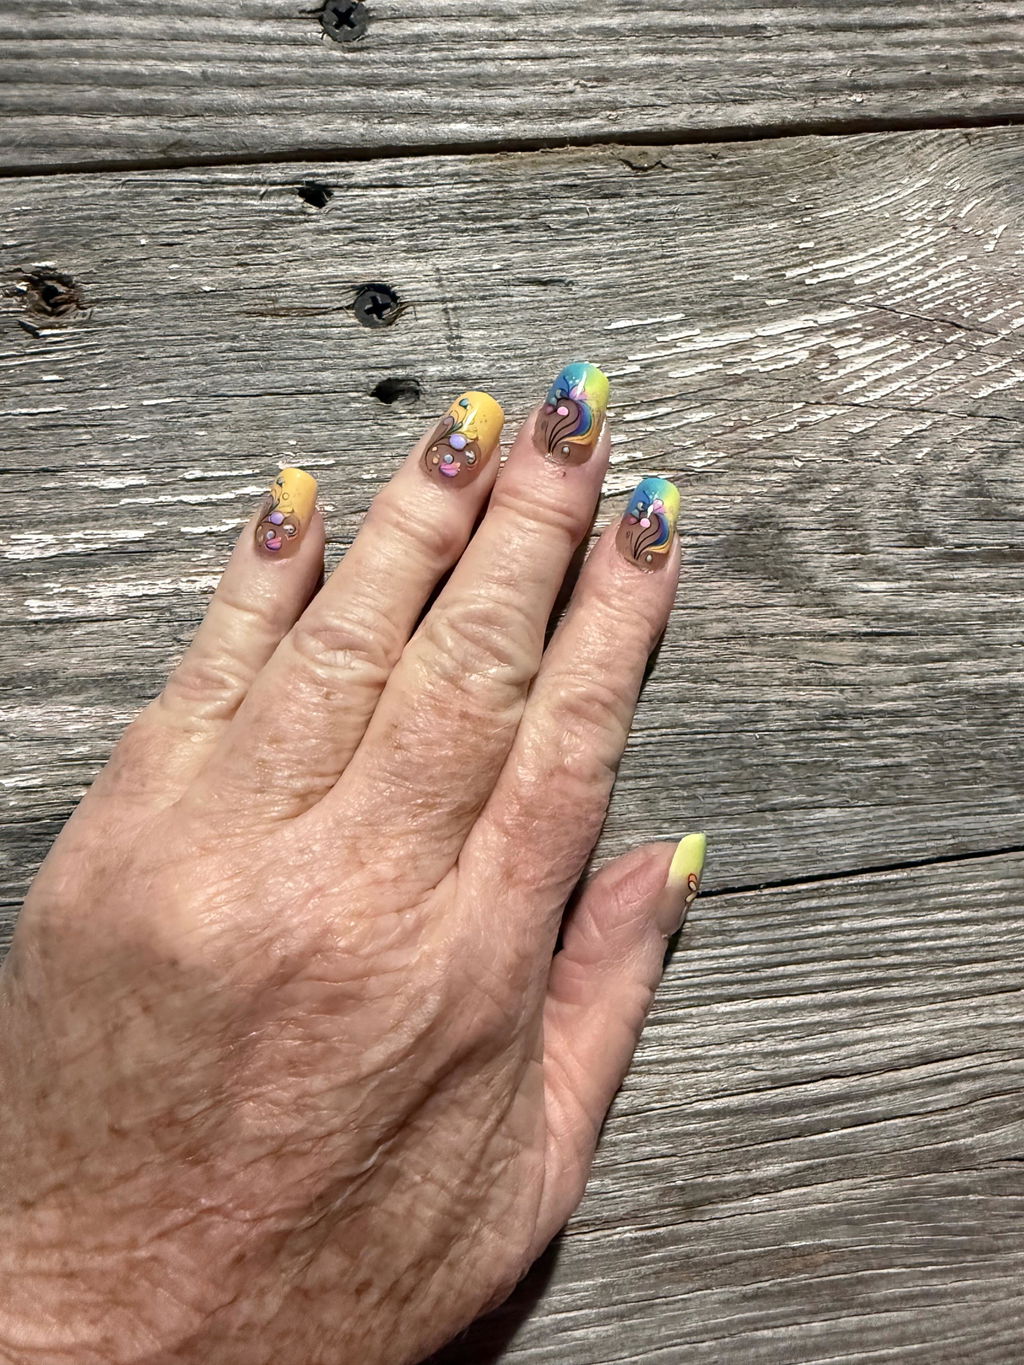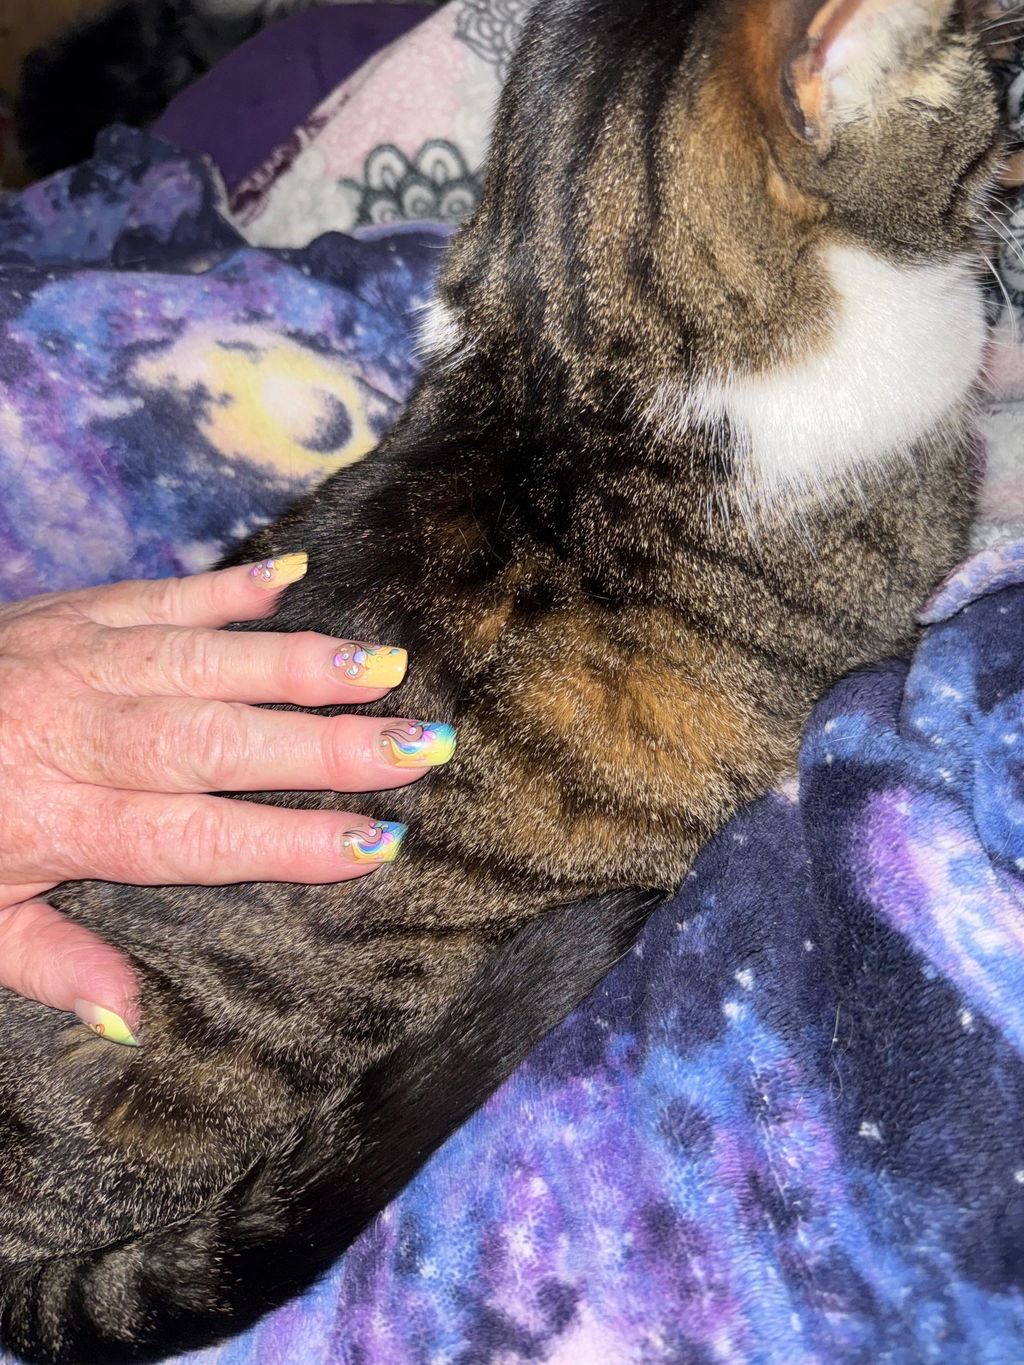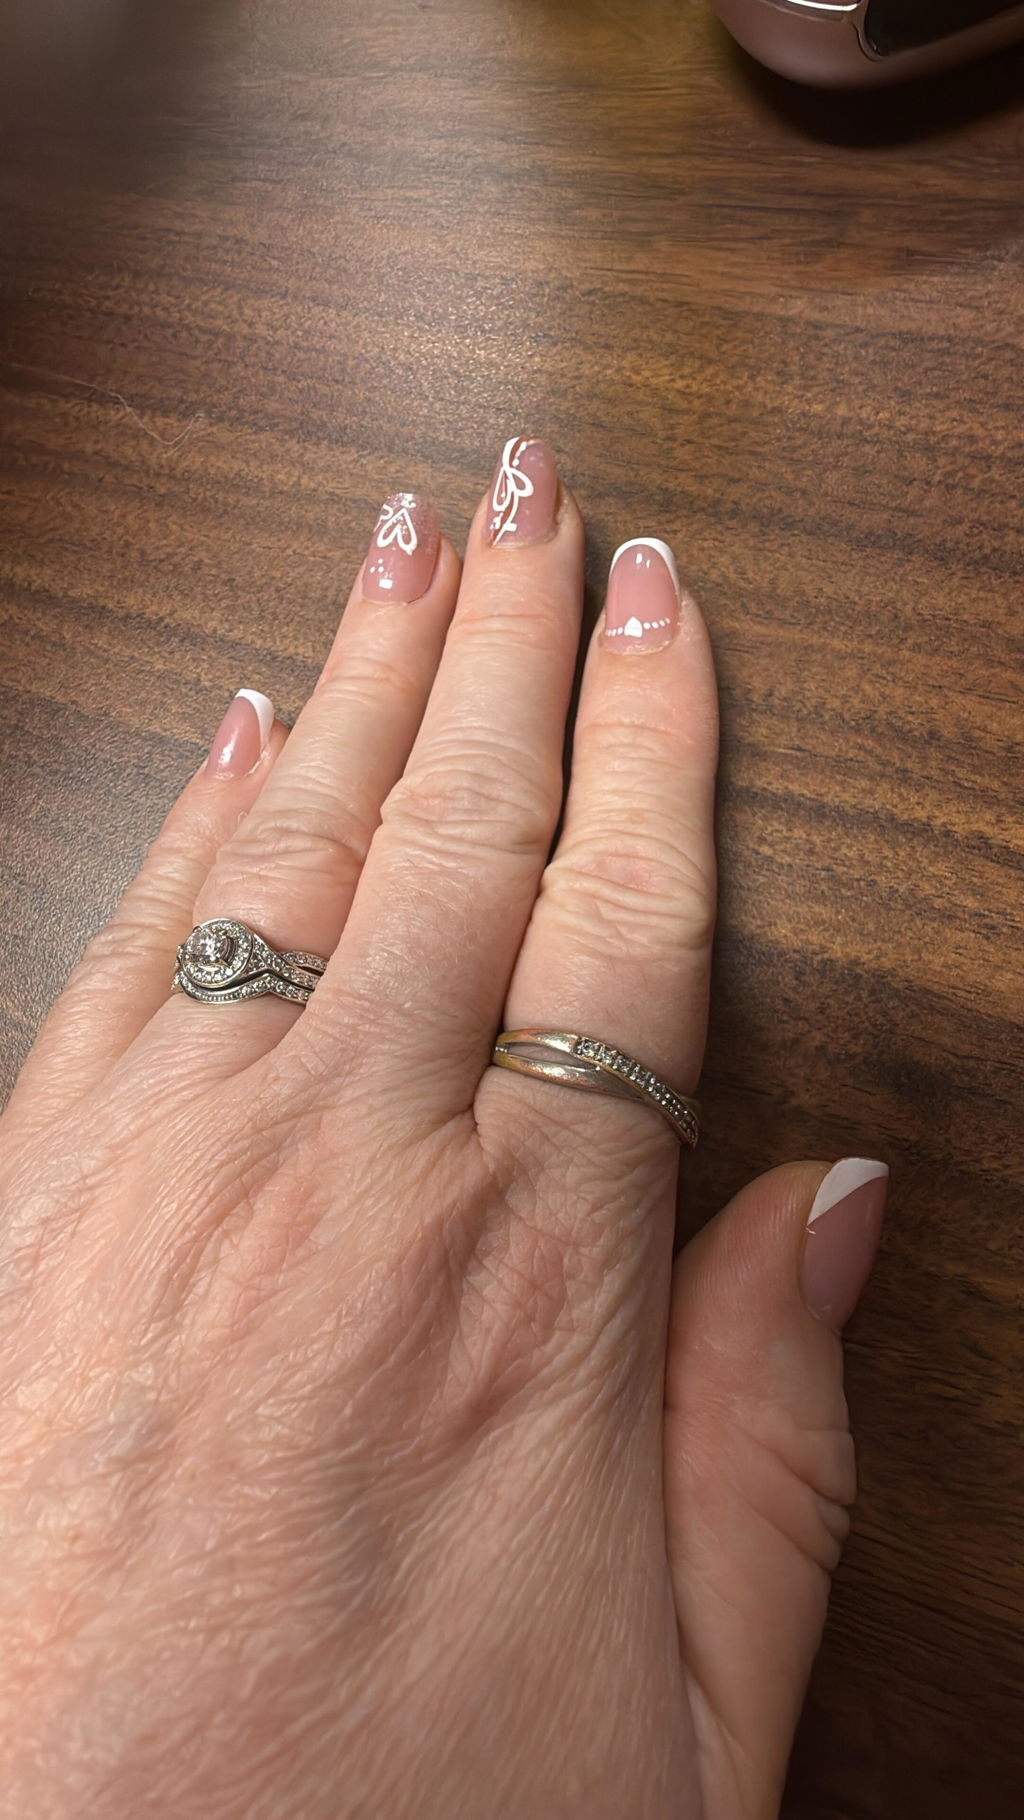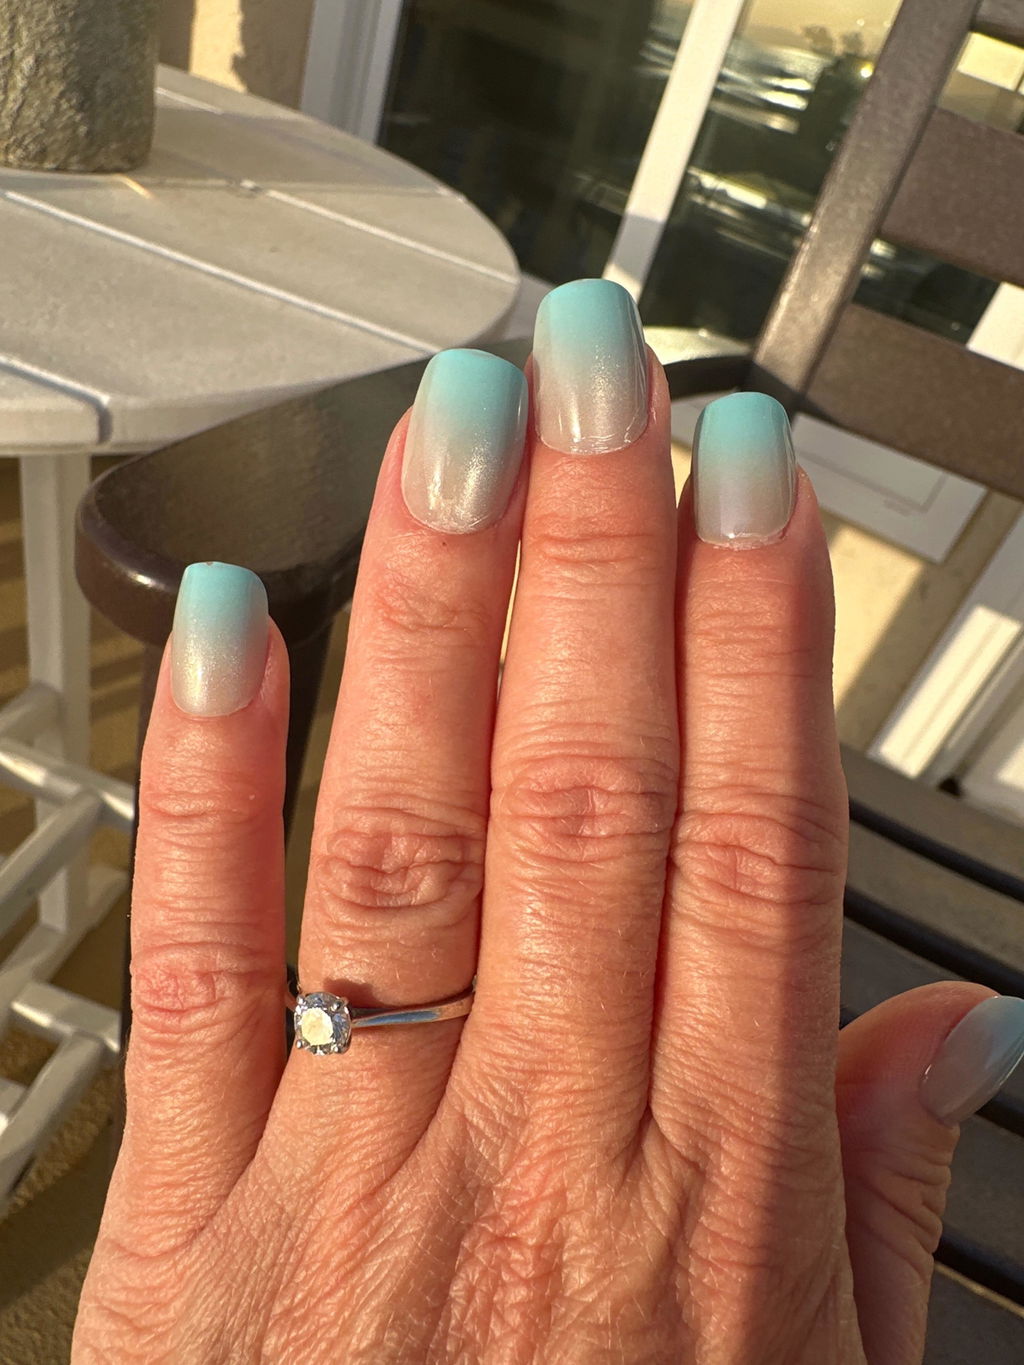
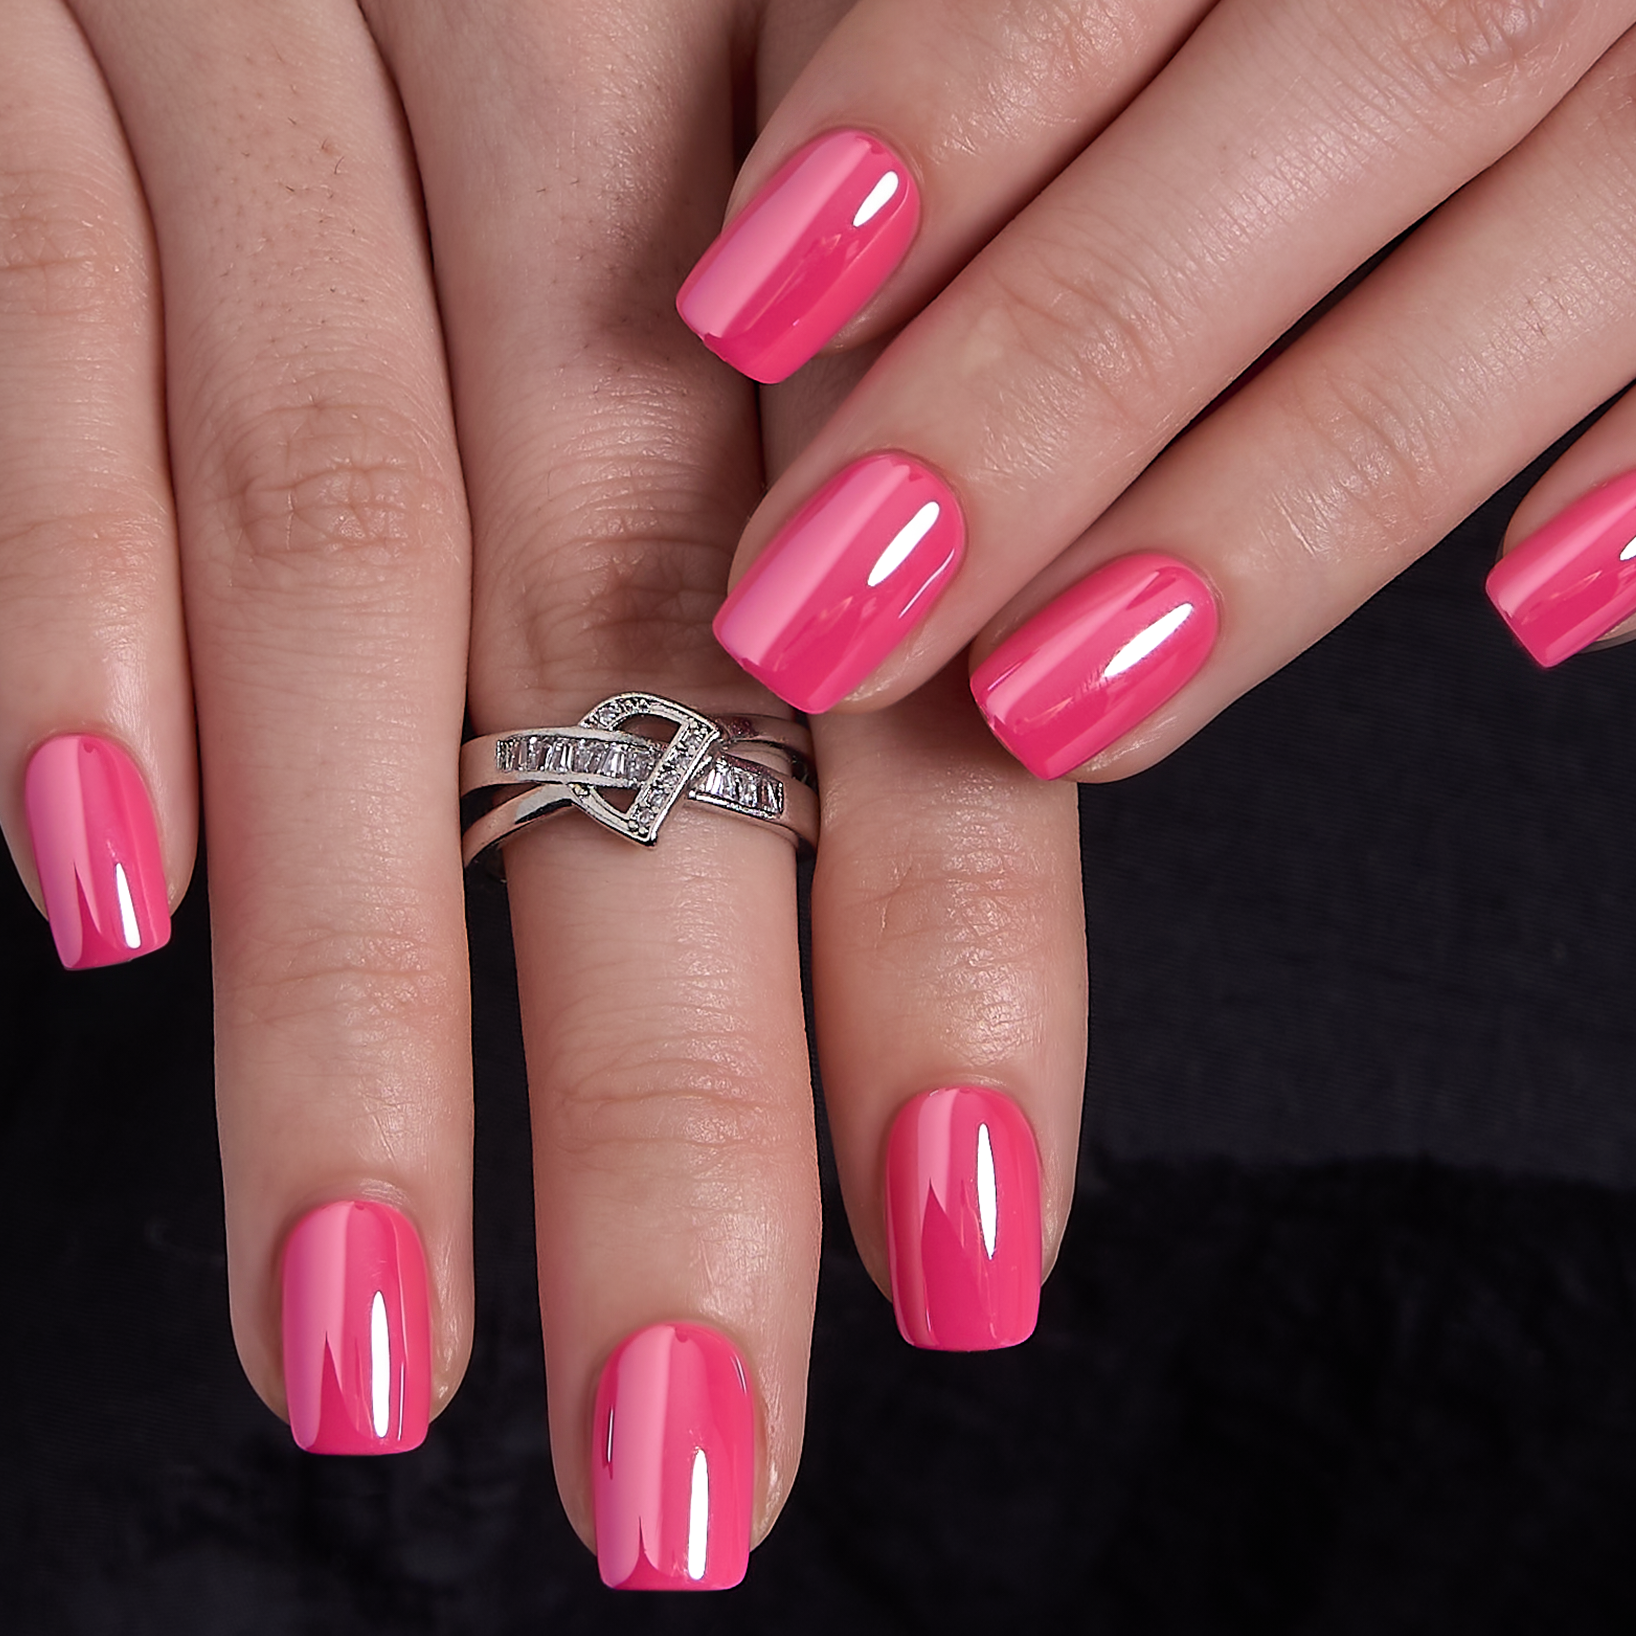
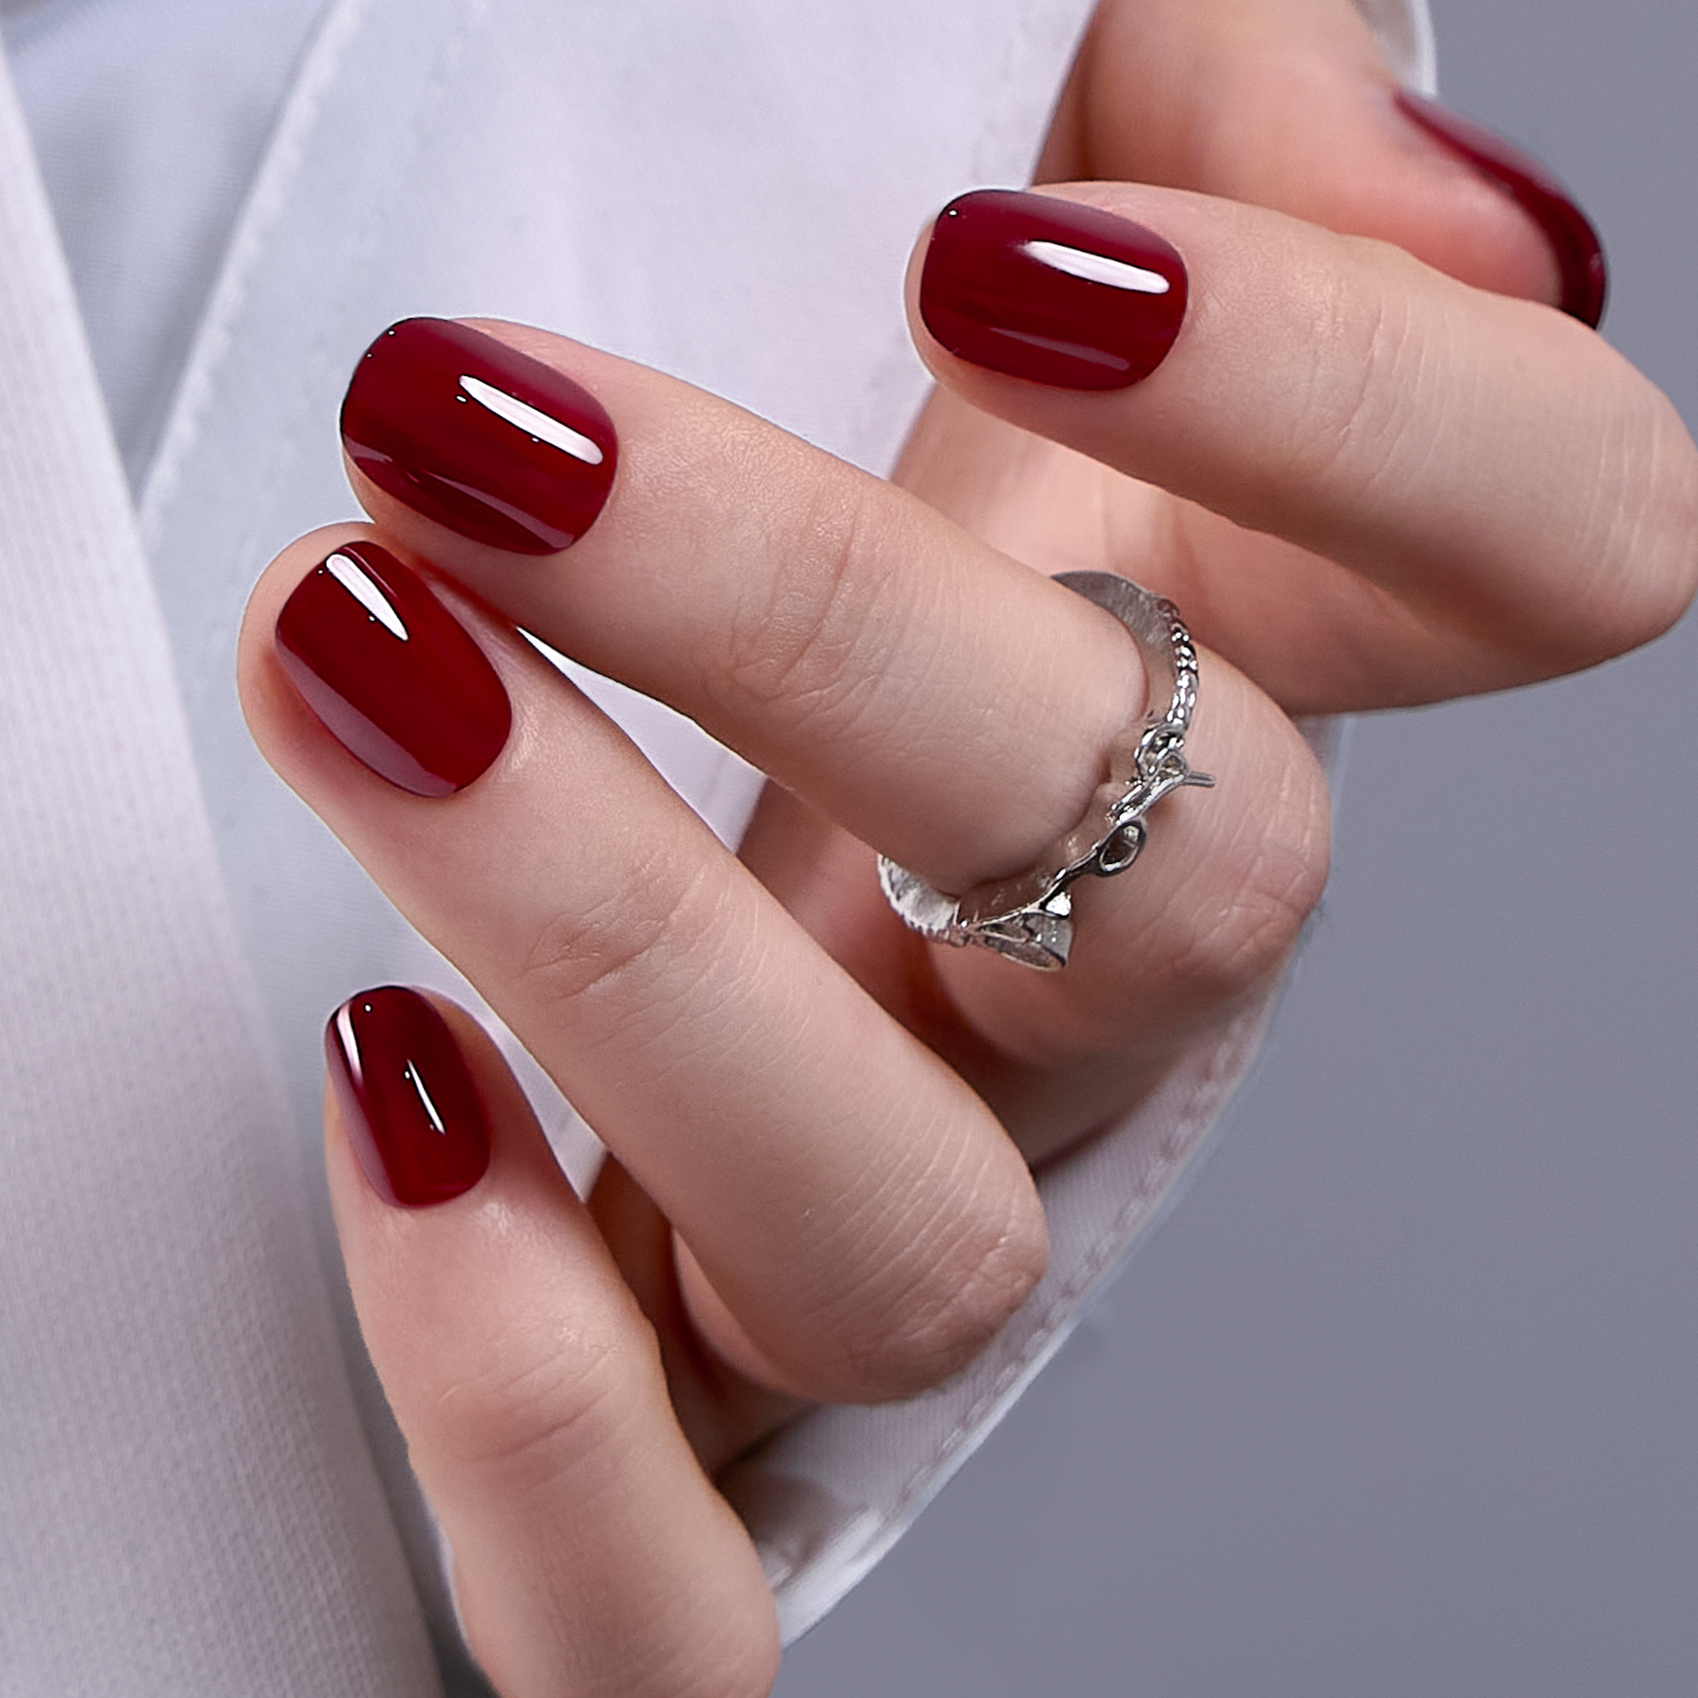
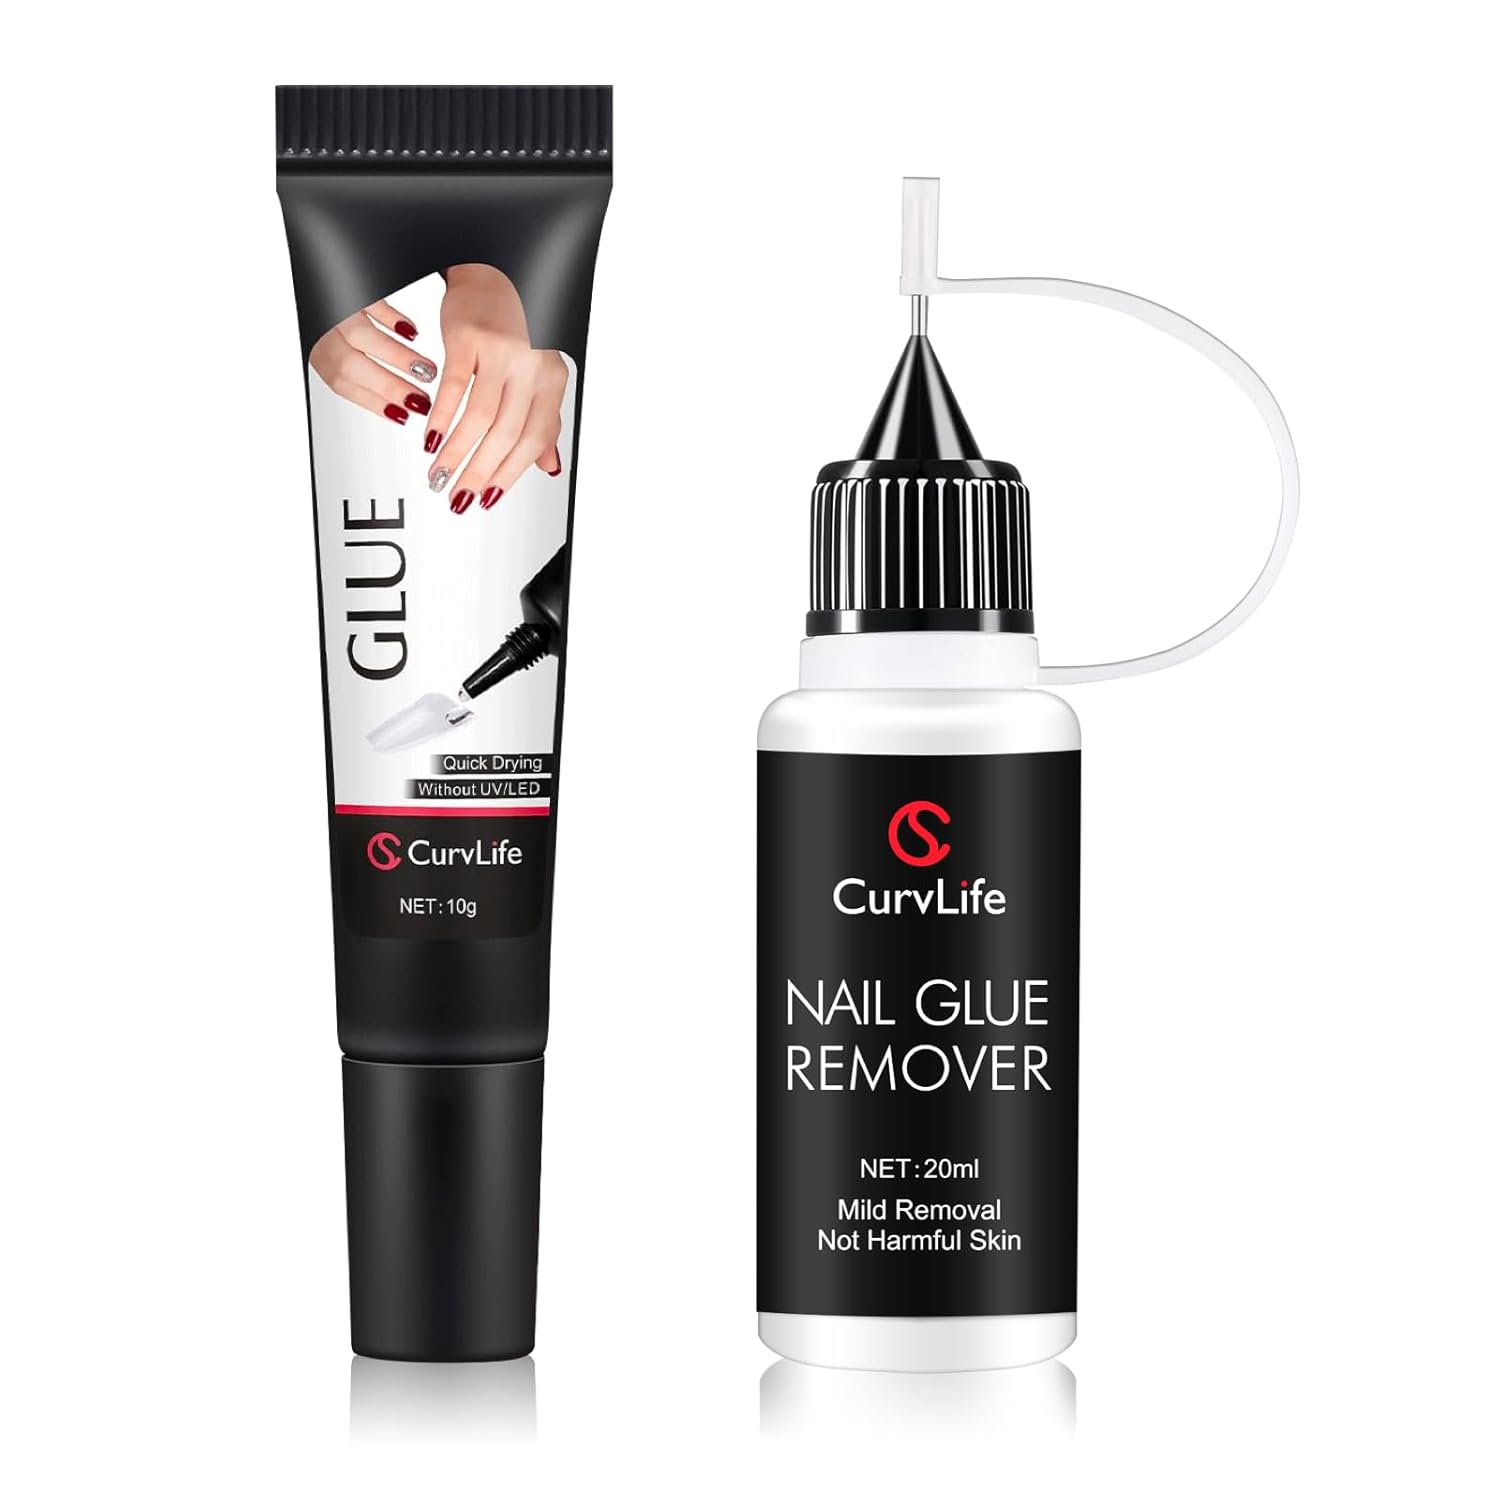
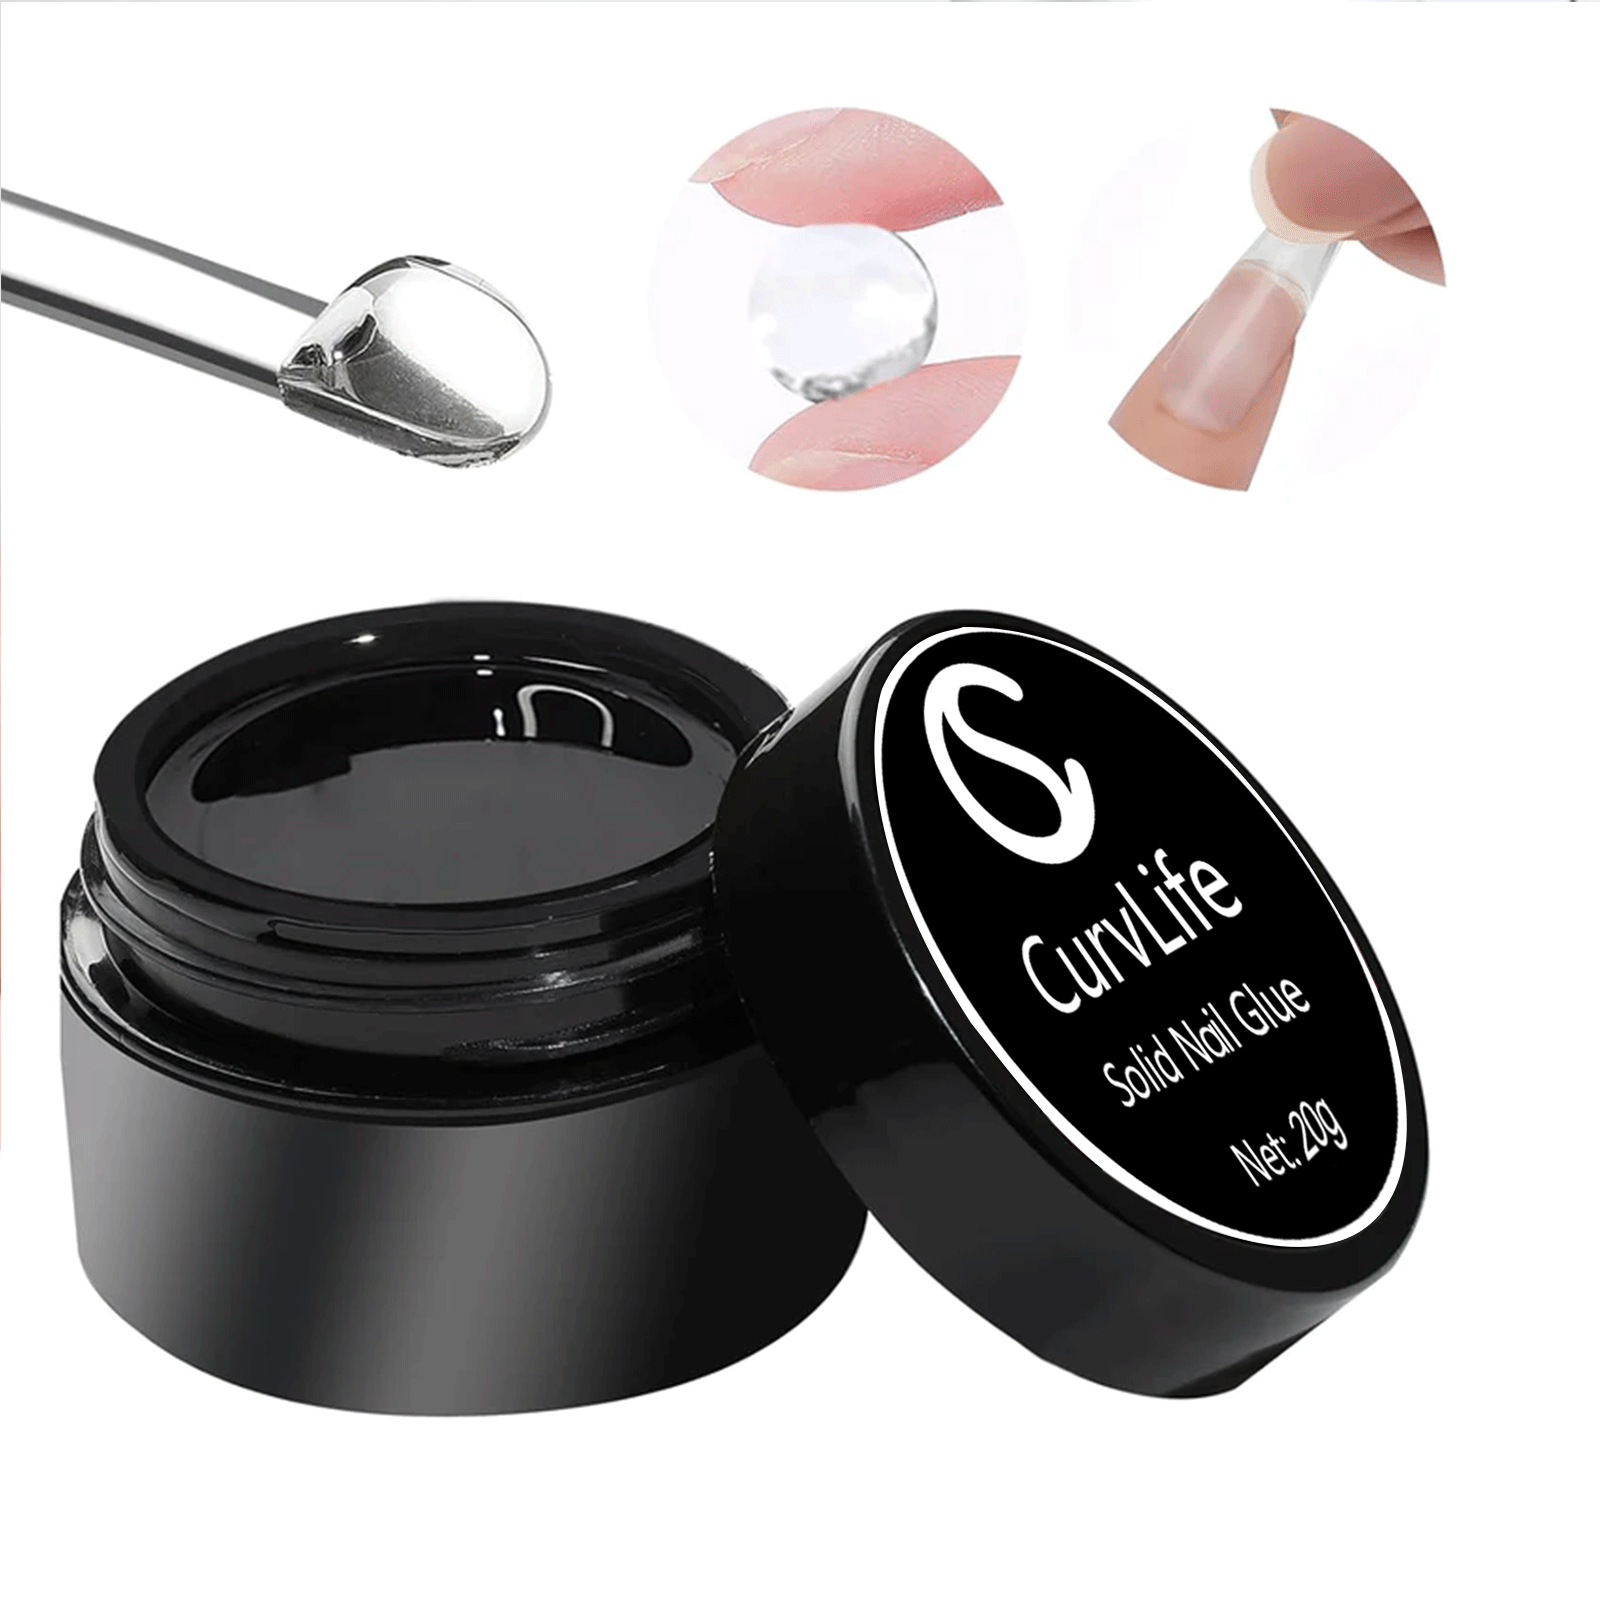
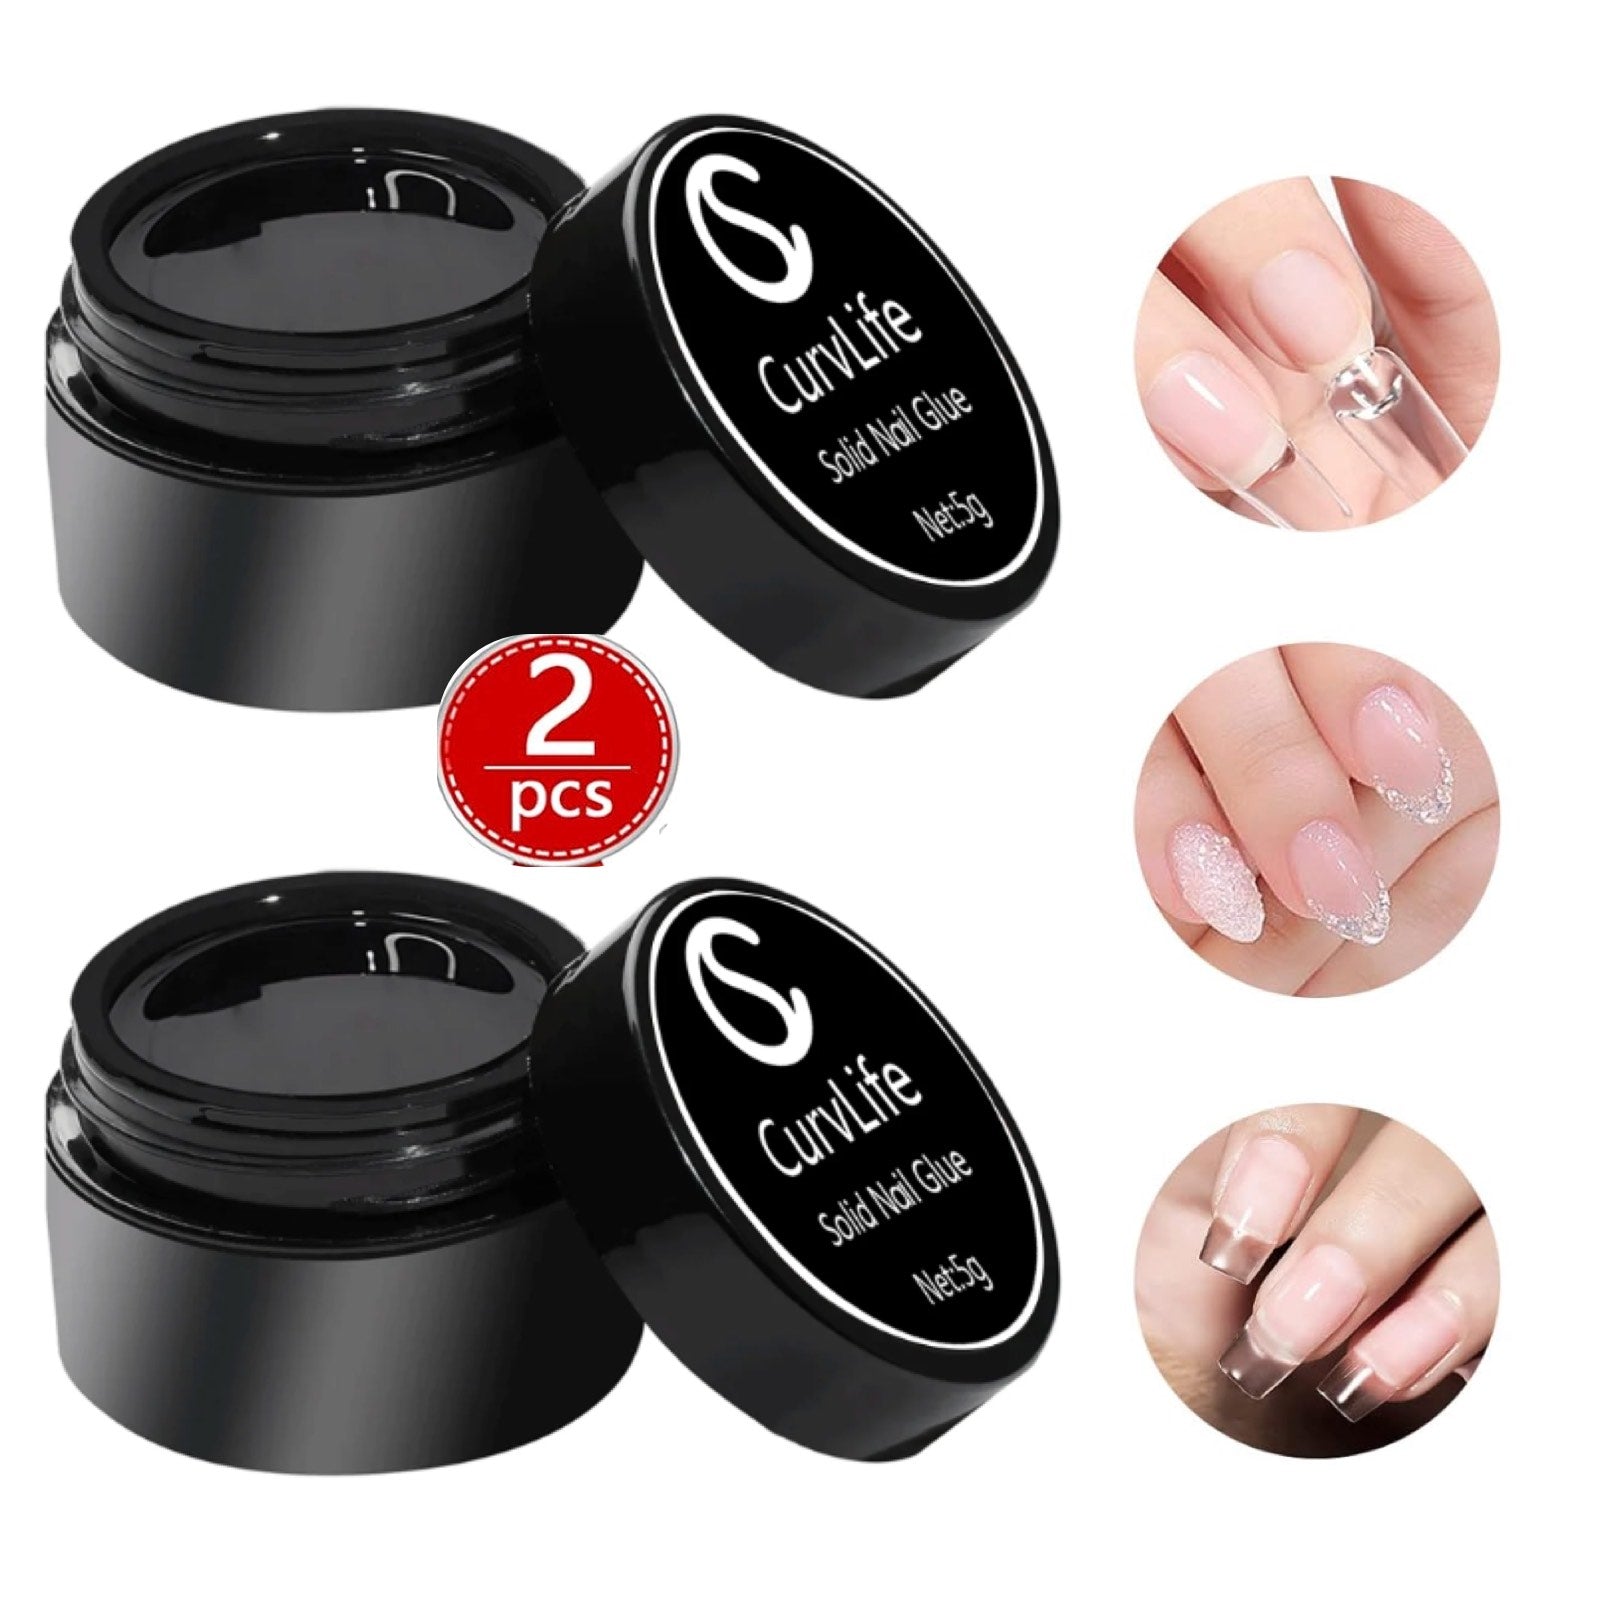
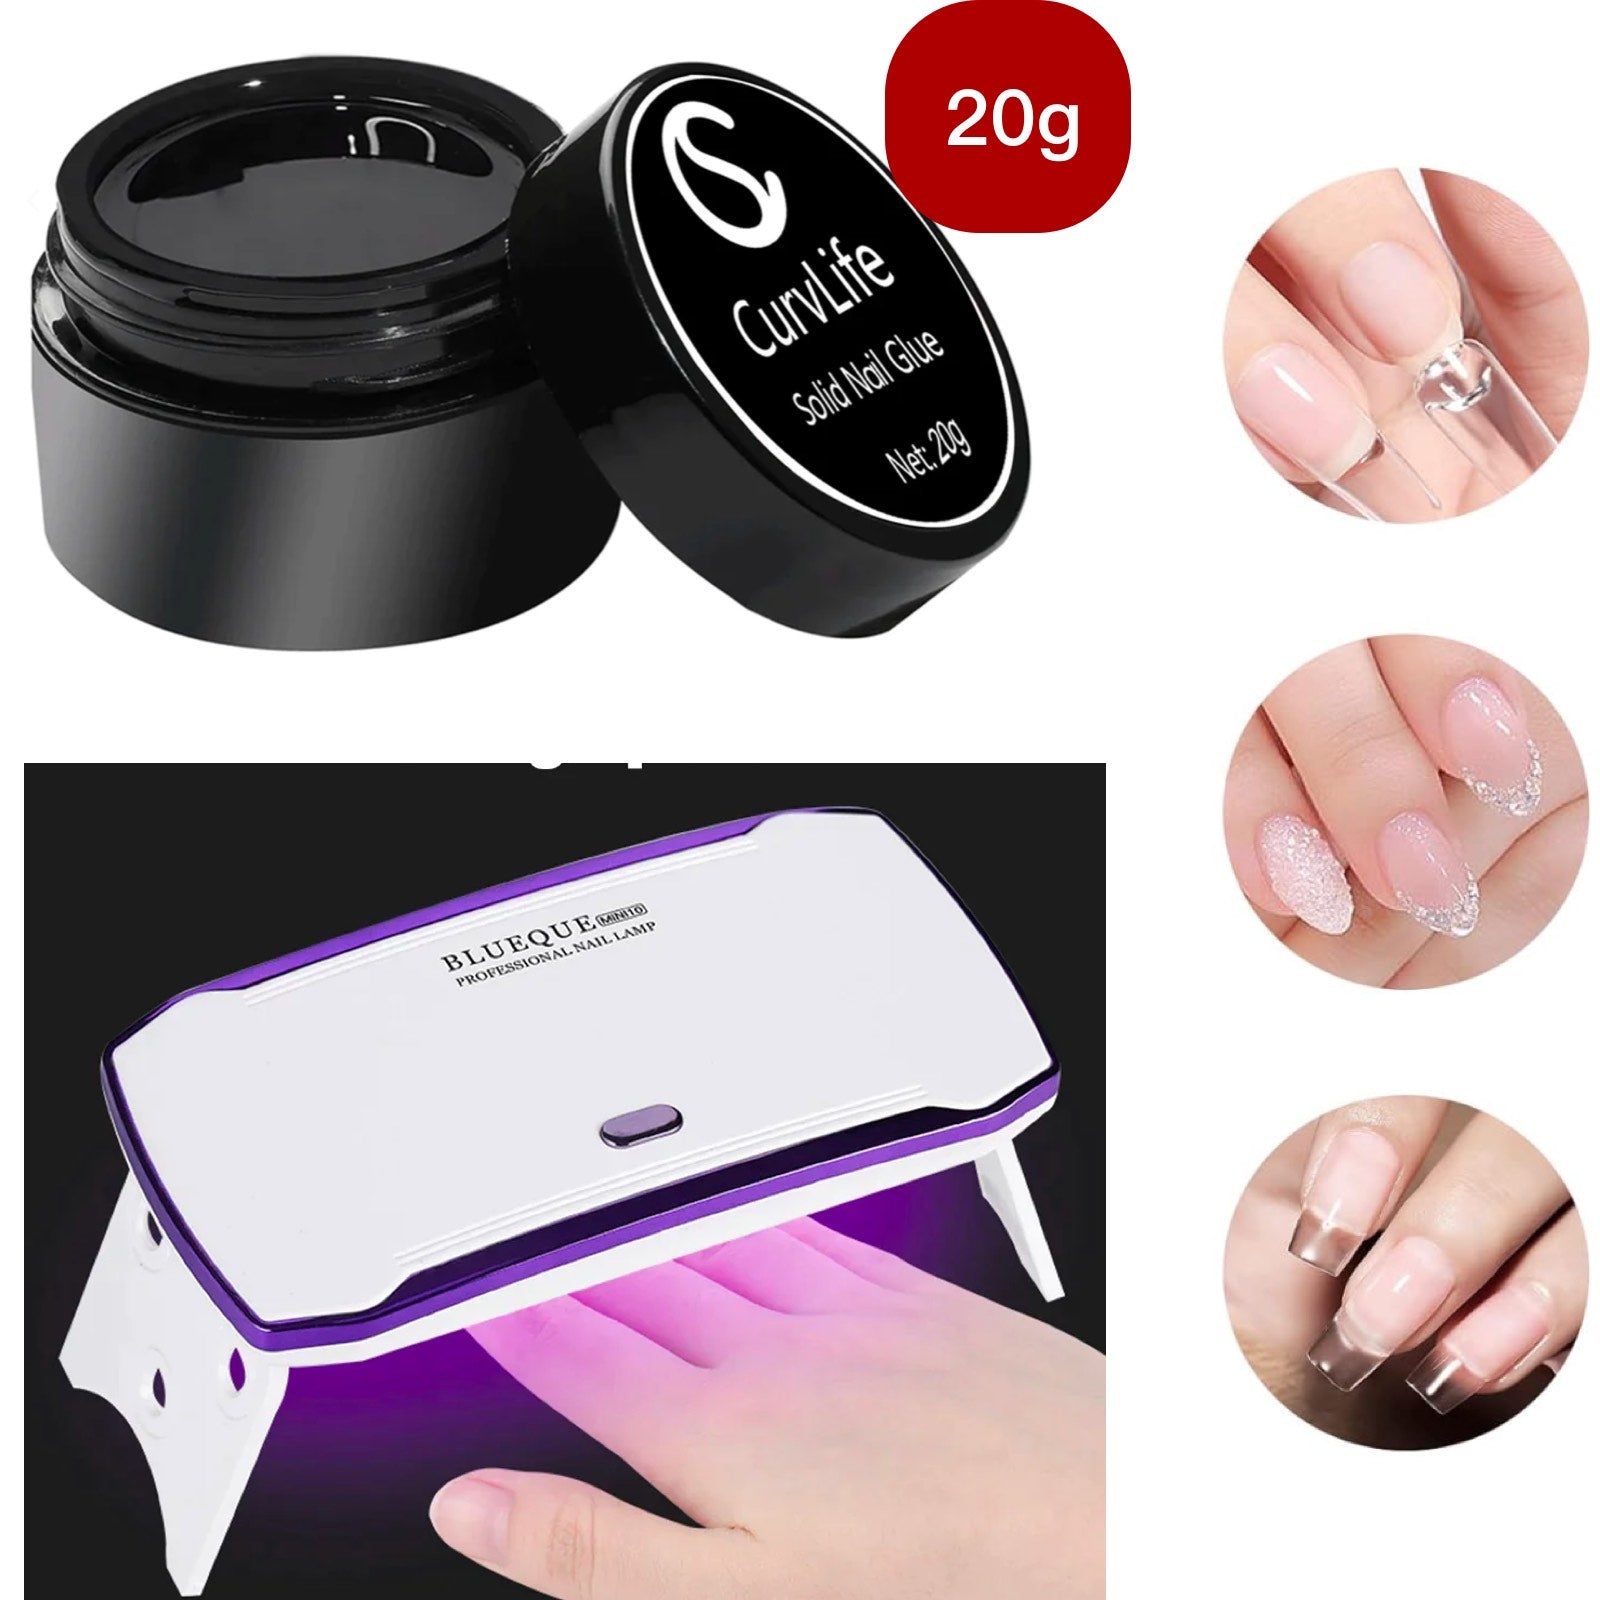
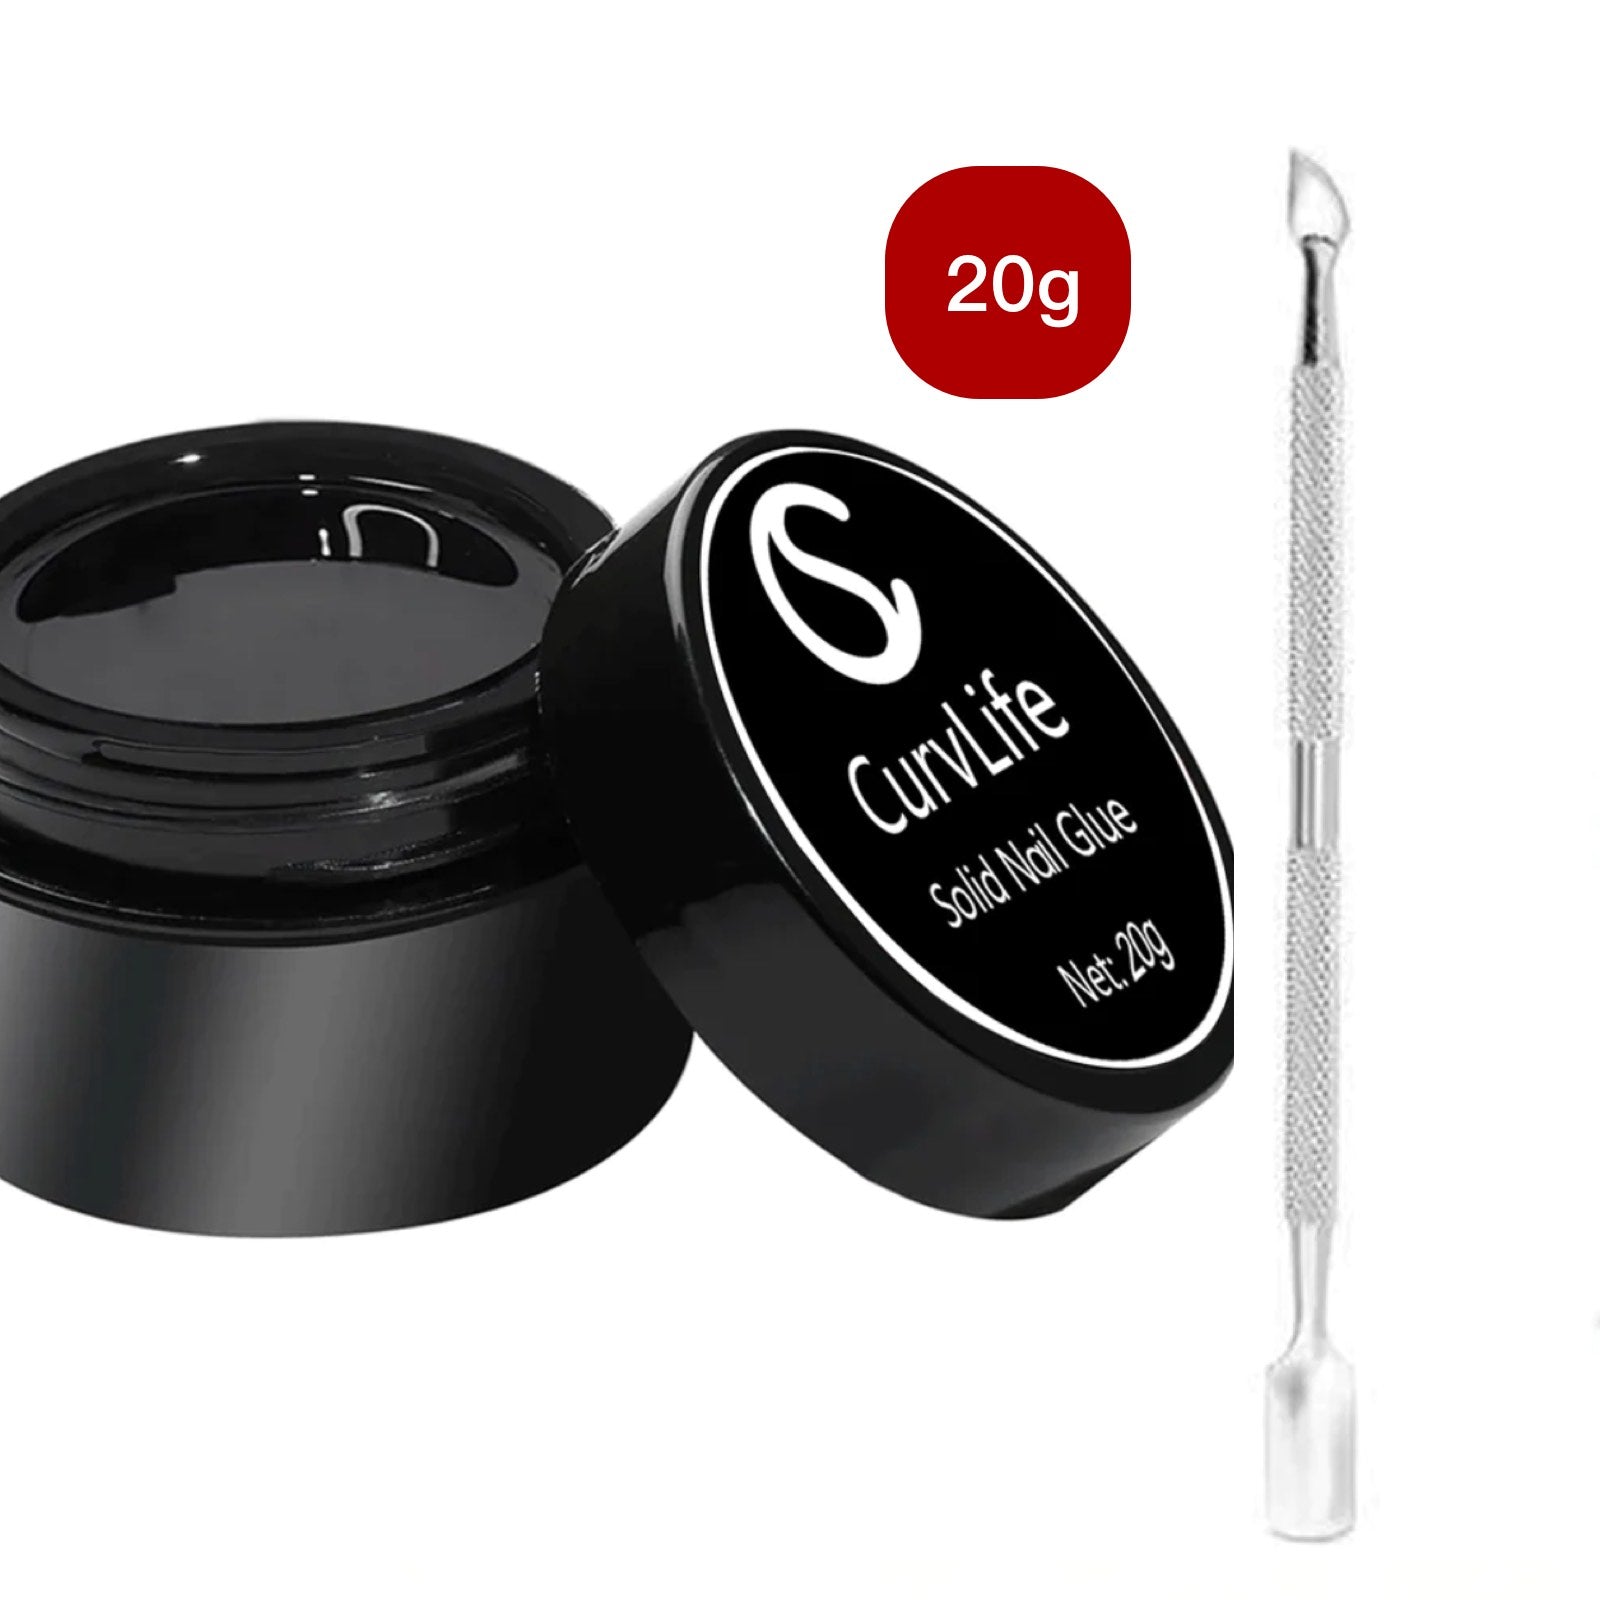
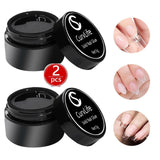
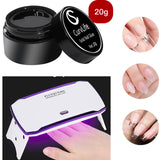

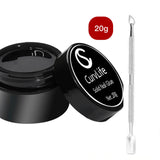


Solid Nail Gel Glue For Nail Tips and press on nail nail glue
Regular price $13.99

Ask about Solid Nail Gel Glue For Nail Tips and press on nail nail glue

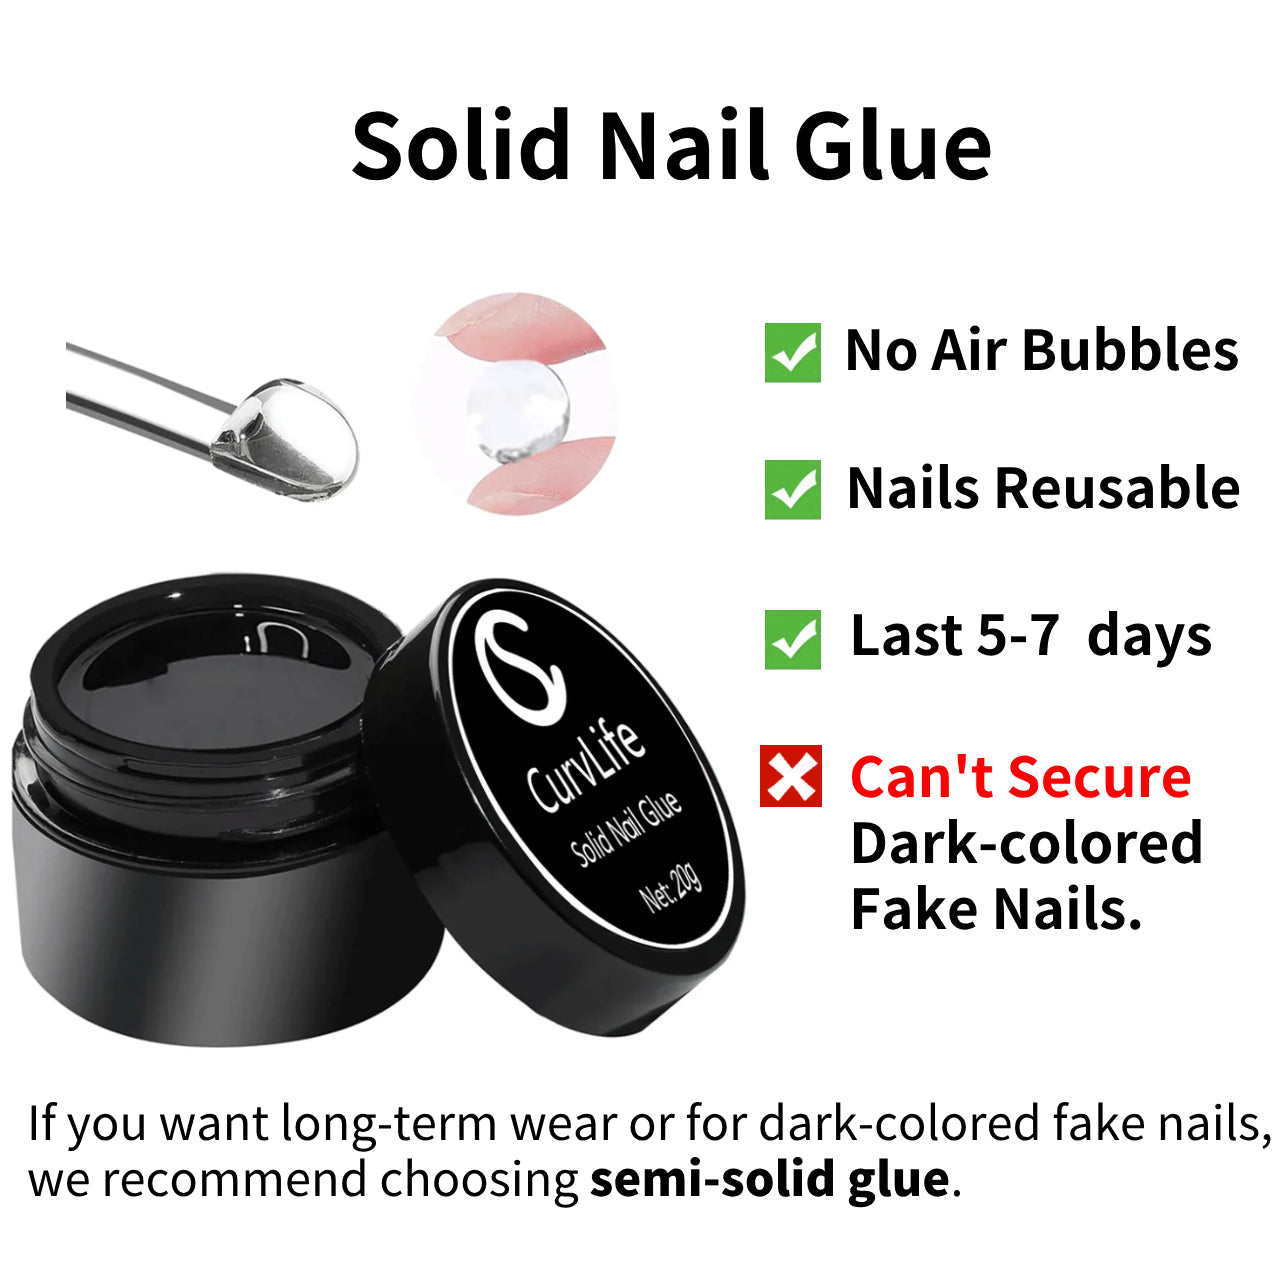
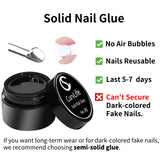
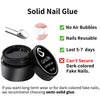
- No bubbles ?No whitish
- Very strong
- Multi-Function
- Easy to apply
- Fit nail bed well
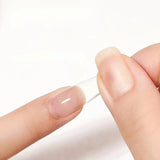
- Choose nails that fit your nail size.
- Take moderate solid nail glue gel on the nail tips
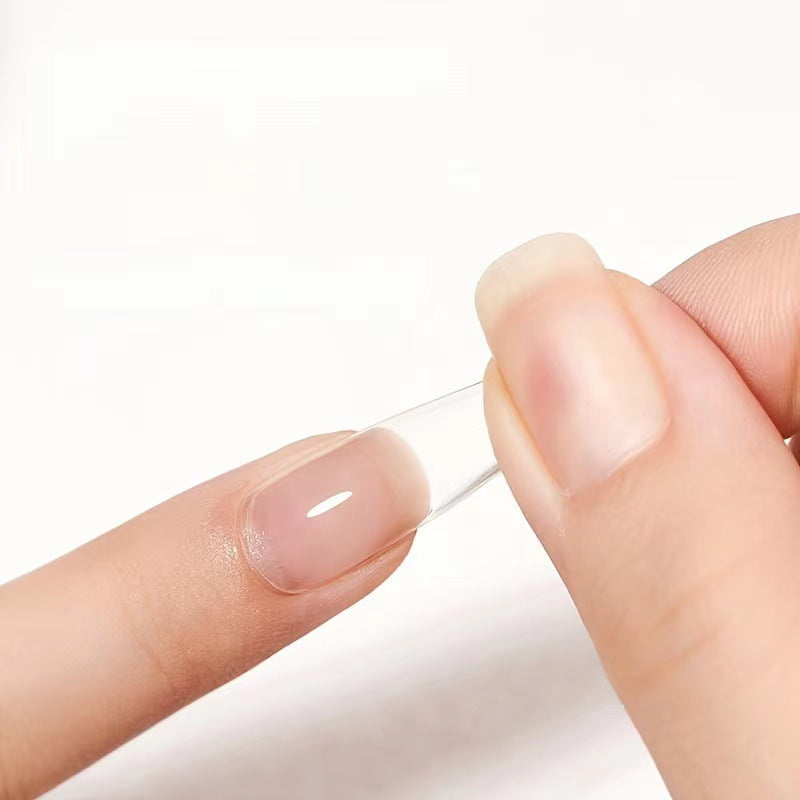
- Press and adjust the nail position and fix it (Make sure there are no air bubbles)
- Wipe off the spilled gel
- Cure nails under UV lamp (For light-colored nails, cure for 1-3 minutes; for?neutral color ones, it's suggested to cure for 3-5 minutes. It's not recommended for use on?fully opaque color nails.)
 ?
? ?
?
- Apply rubbing alcohol?to?all?edges?of?nails.
- Use?the?cuticle?pusher?or?wooden?stick?to tilt out a gap and?gently pry open
the entire Press on nails. (If it's not coming off easily, do not force it! keep the wooden stick in the gap and apply more glue remover between the nail bed and Press on nails, repeat several times)
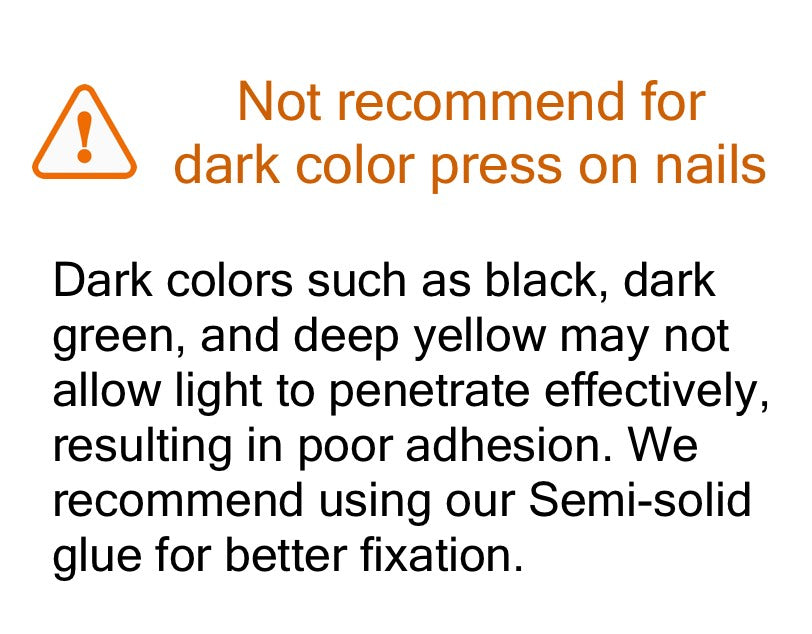
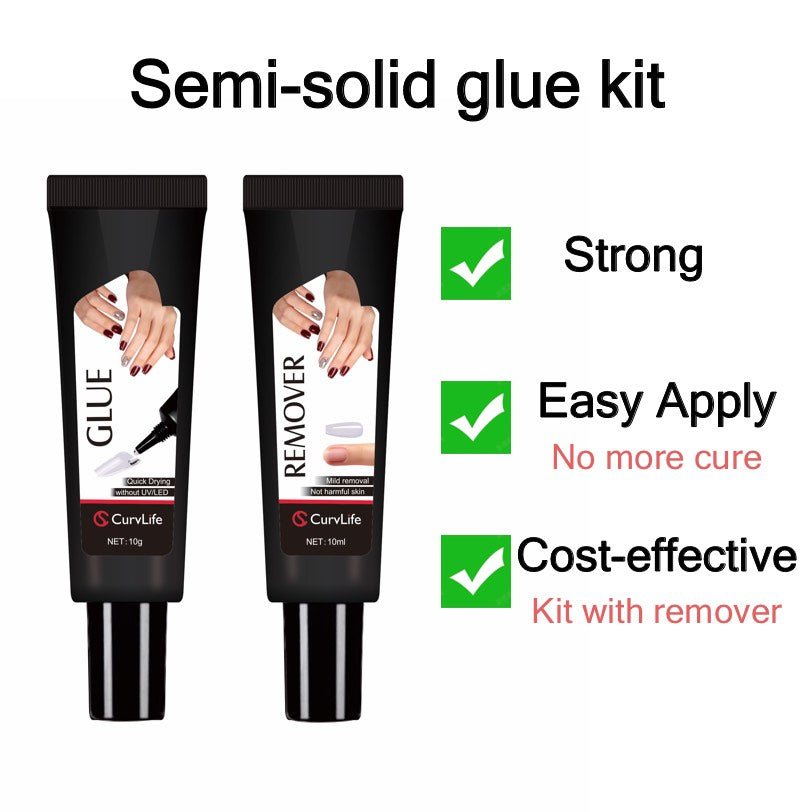
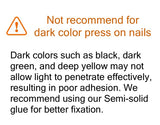
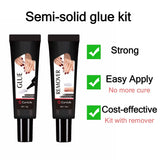
- Dark colors such as black, dark green,may not allow light to penetrate effectively, resulting in poor adhesion. We recommend using our Semi-solid Glue for better fixation.
- Due to cold weather, the glue may harden as the gel is temperature-sensitive. If you receive a solidified colloid, you can soak the container in hot water for 30 minutes before use to restore its tackiness.
- Please?close?the?cap?in?time?after?use?and?keep?away?from?direct?sunshine.
Tips about how to make press on nail last longer
Prep the Surface of Your Nails
- First, dehydrate your natural nails and get rid of the oils with alcohol or acetone
- take a buffing tool and rough up the surface of your natural nails,Then wipe it clean with an alcohol pad
- Base Coat.?The base coat provides a smooth, protective barrier between the glue and your natural nails
Make sure the glue is cured by light
- Properly extend the?curing time, 30 seconds for light colors and 2-4 minutes for dark colors.
- Put your nail?closeto?the lamp bead to cure faster
- After curing, you can press the nail gently to see if the glue is completely dry.If not, please cure for a while.
?¡¾Healthy Ingredient Nail Glue Gel¡¿ - The nail glue gel is made of healthy ingredients, no unpleasant smell, environmentally friendly, non-toxic, harmless to your skin and natural nails, providing you a comfortable and happy nail experience.
?¡¾Apply Base Coat & Curing Needed ¡¿- After finishing the nail prep, it needs to apply base coat and cured; then apply the solid uv glue gel and be cured under the nail lamp for at least 60 seconds. the uv nail adhesive with good flexibility, it is repositionable before curing, which is very convenient.
?¡¾DIY Nail Art Gel Glue¡¿- Suitable for professional manicurists and nail lovers, it can meet the needs of a variety of nail art work at the same time. Enjoy a salon experience with your friend and family at home, creating beauty nail art design. wonderful gift for your wife, girlfriend, mother or sisters and perfectly for parties, dating and wedding¡¢birthday etc.
Everything you need for an at-home press-on manicure.
- 32 press-on nails in 16 sizes
- Adhesive tabs
- Nail glue
- Alcohol prep pad
- Nail file
- Cuticle stick

RECOMMENDED PRODUCTS
RECENTLY VIEWED PRODUCTS
FAQs
What is included in each nail kit?
Each CurvLife nail kit includes everything you need for application:
32 press-on nails in 16 sizes
A mini tube of our signature CurvLife Semi-Solid Glue
Adhesive tabs
Alcohol prep pads
Nail file
Cuticle stick
The Pinpoint Remover is sold separately and is not included in the nail kit. You can purchase it here.
I have wider or petite nails. How do I pick the right size?
Each CurvLife set includes 32 press-on nails in 16 sizes to fit a wide range of nail shapes and sizes.
Our sizes range from 9 mm to 19 mm across the natural curve of the nail. For the best fit, measure the widest part of your natural nail and check the size chart in the product images.
How do I apply CurvLife press-on nails?
CurvLife press-ons can be applied with either nail glue or adhesive tabs, depending on your preferred wear time.
With proper prep, you can get a salon-style manicure at home in about 10 minutes.
👉View the full step-by-step application guide.
How do I remove CurvLife press-on nails?
For easier, more controlled removal, we recommend using CurvLife Pinpoint Remover.
If you don’t have remover on hand, soak your nails in warm water with a few drops of oil, then gently loosen an edge near the cuticle and slowly work around the nail as the adhesive softens. To help protect your natural nails, never peel or force the press-ons off.
👉View the full removal guide.
Can I reuse my CurvLife press-on nails?
Yes, CurvLife press-on nails can be reused when removed gently and kept in good condition.
If reusability is your priority, we recommend using adhesive tabs, as they are easier to remove and usually leave less residue on the press-ons. Nail glue provides a stronger, longer-lasting hold, but it may leave more residue and make reuse more difficult.