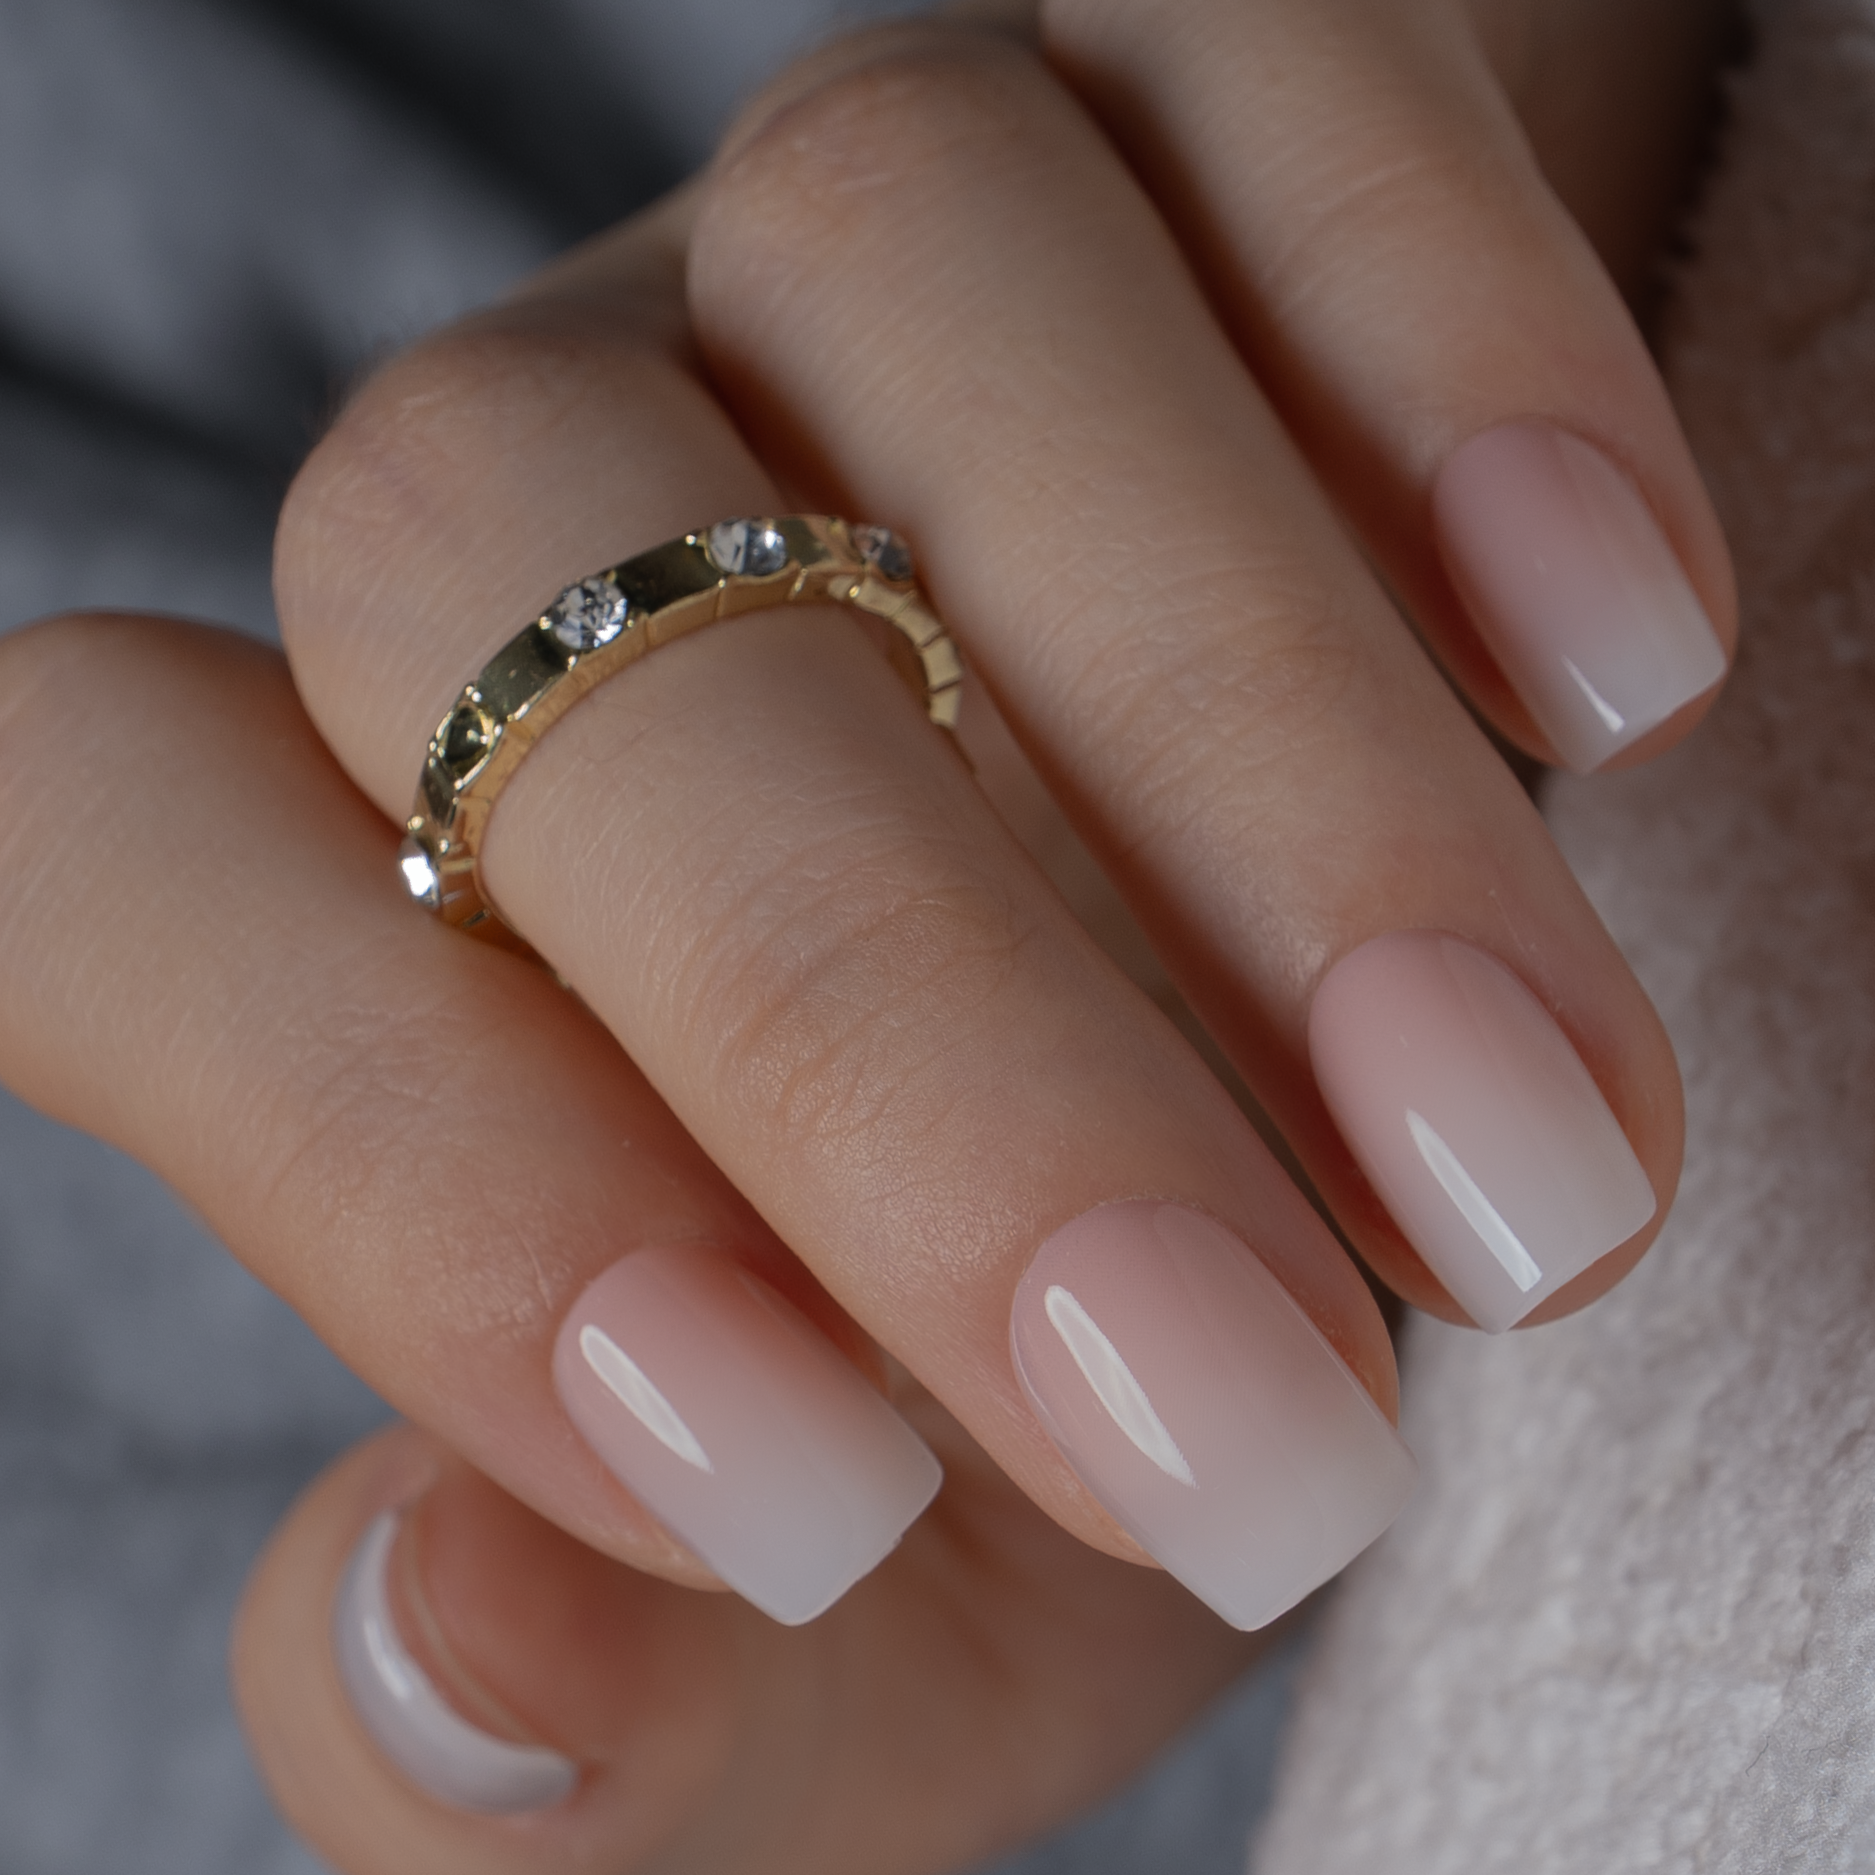
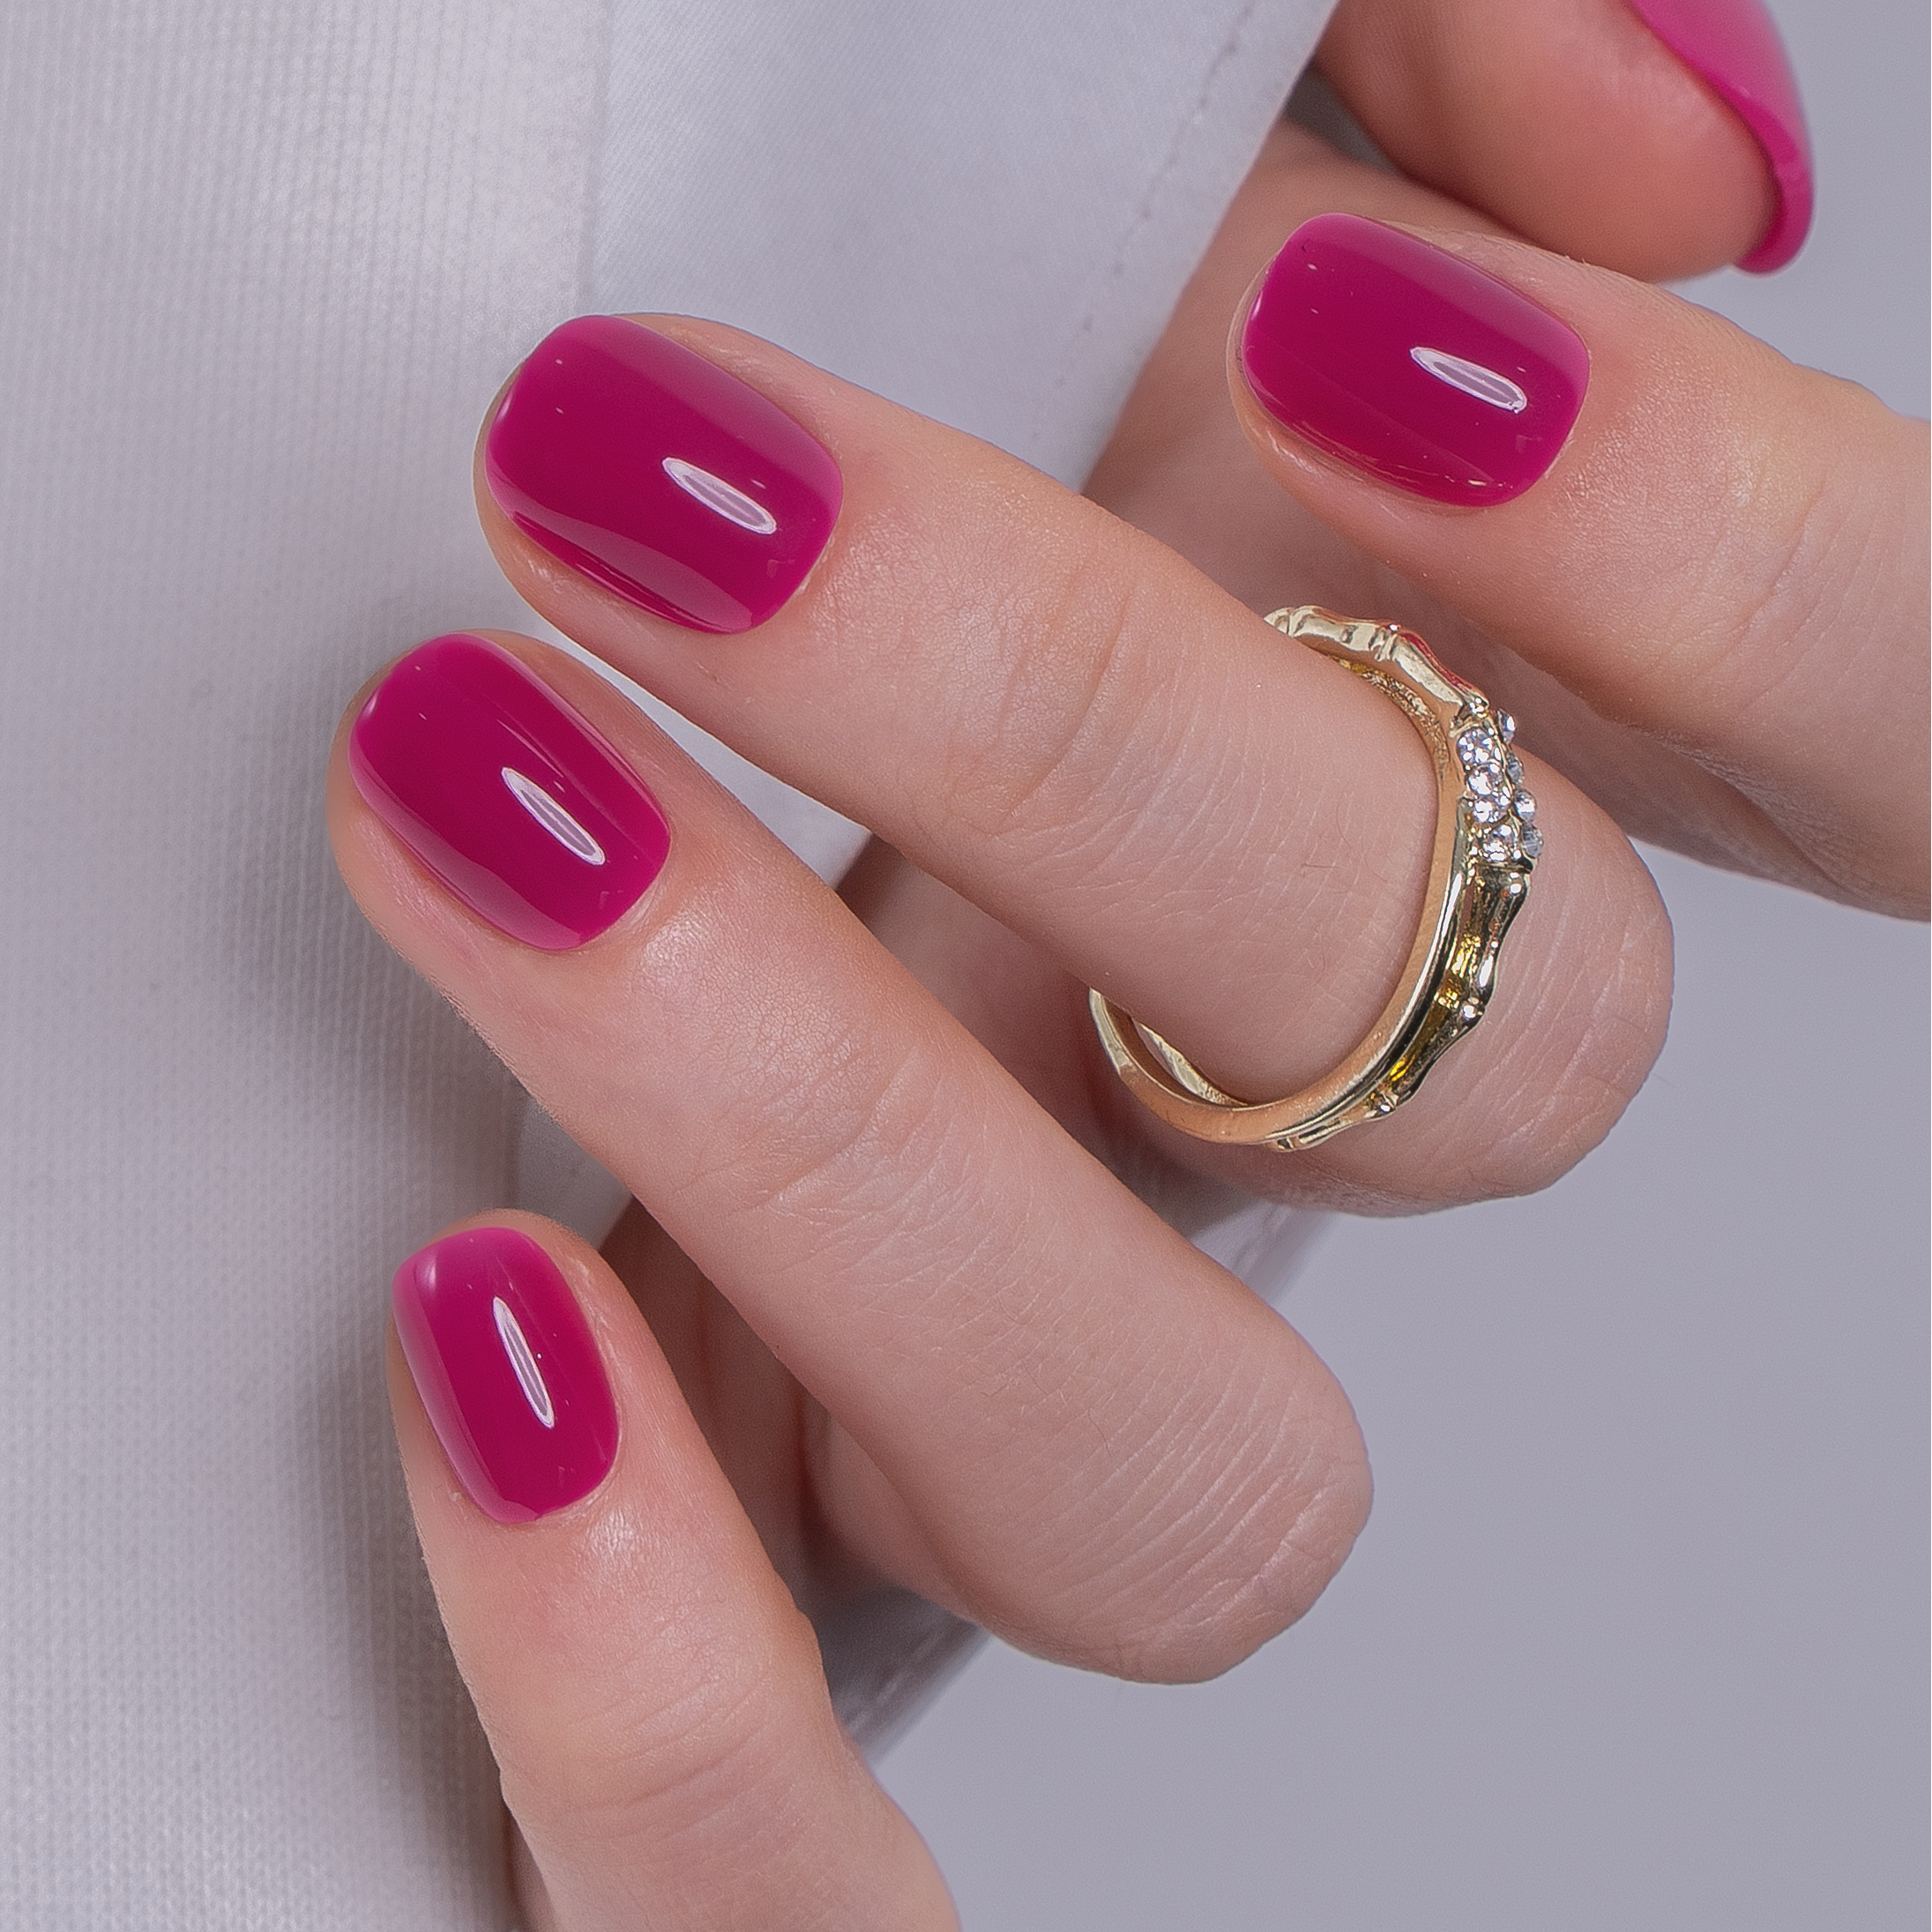
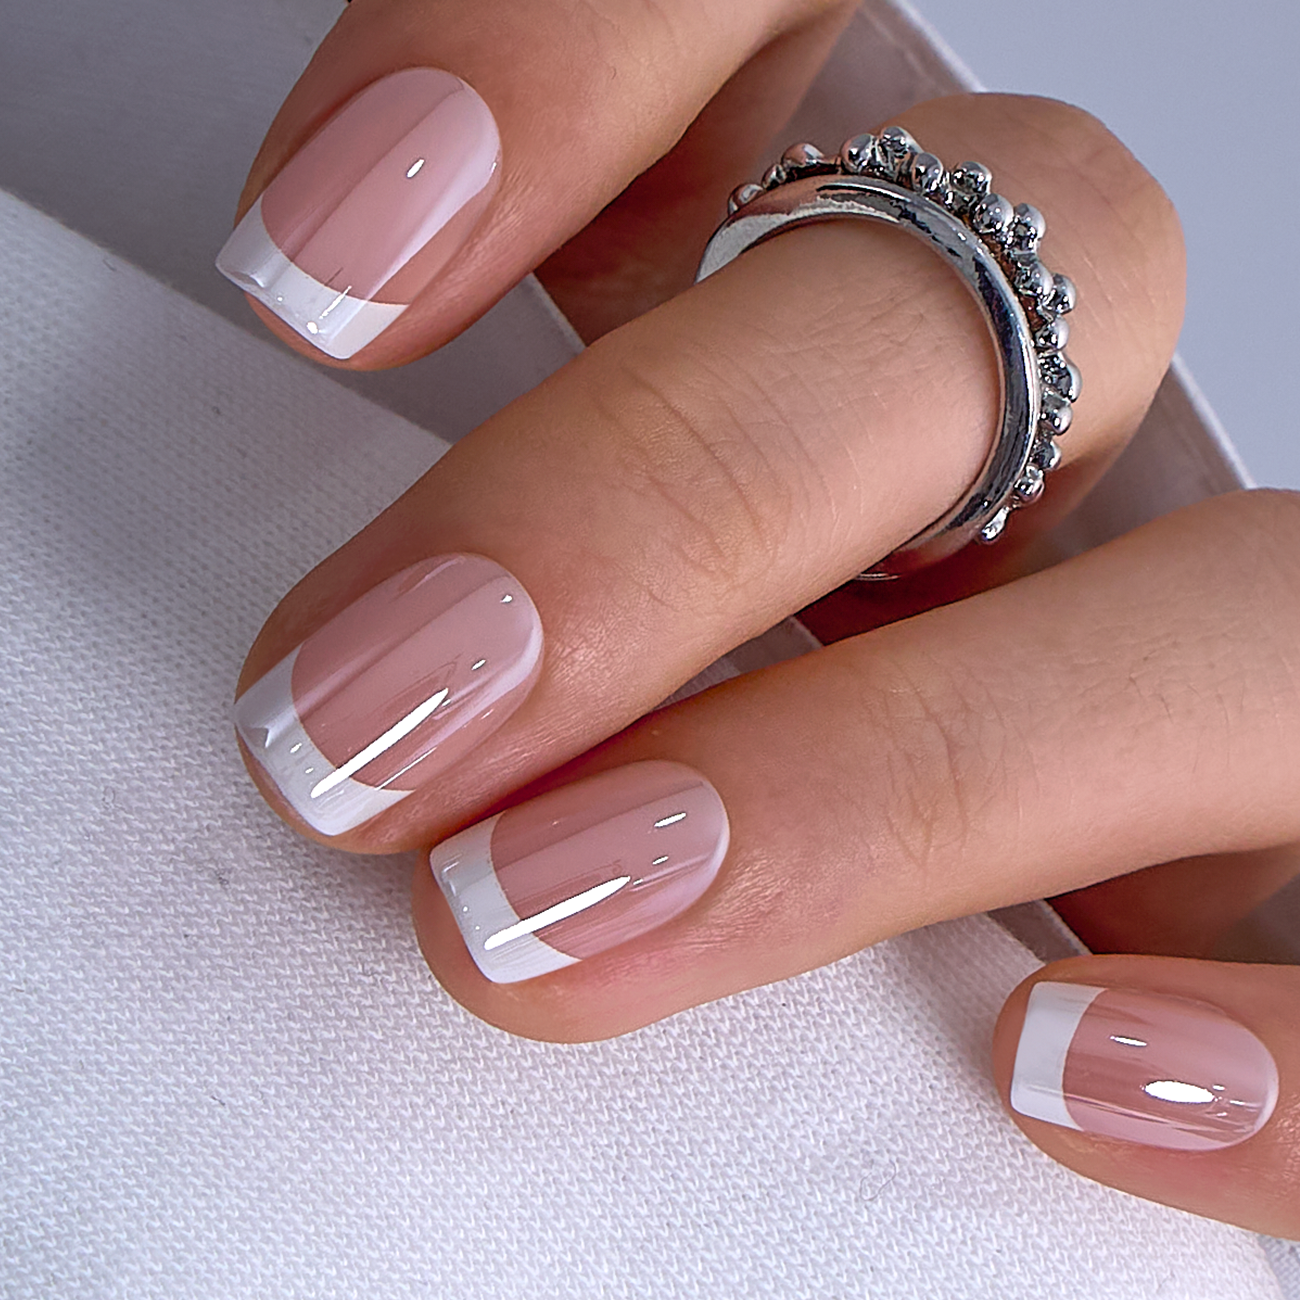
Press-On Nails
What is included in each nail kit?
Each CurvLife nail kit includes:
- 32 press-on nails in 16 different sizes
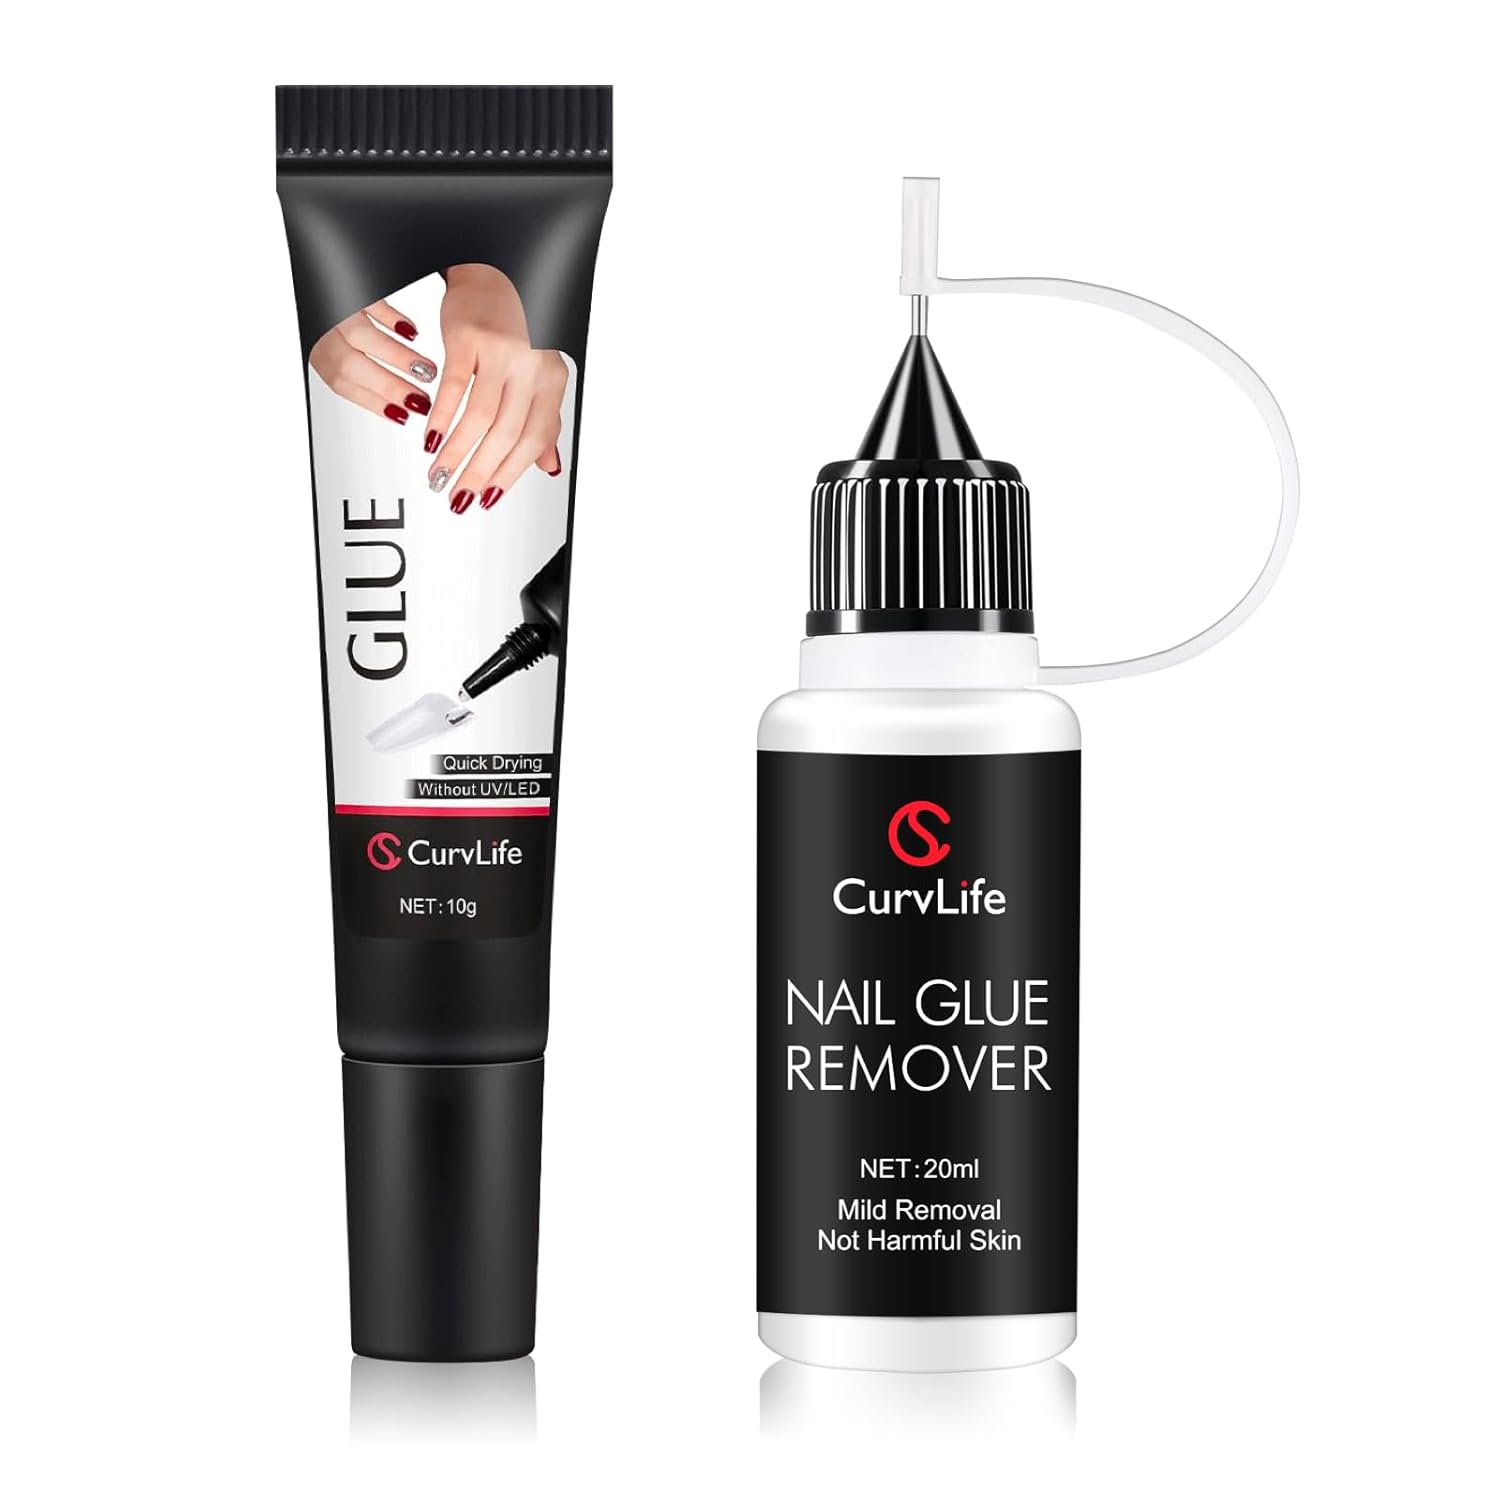
- Nail glue
- Adhesive tabs
- Nail file
- Cuticle stick
- Alcohol prep pad
Everything you need for application is included.
Do I need to buy nail glue separately?
No. Each nail kit includes both adhesive tabs and a small tube of CurvLife semi-solid nail glue.
Adhesive tabs are great for short-term wear and easier removal. Semi-solid glue gives a stronger, longer-lasting hold for everyday wear.
If you wear press-ons often or want extra glue and easier removal support, our Semi-Solid Glue & Pinpoint Remover is available separately.
How long do CurvLife press-on nails stay on?
With proper prep and application, CurvLife press-on nails can last up more than 2 weeks with CurvLife semi-solid nail glue.
Wear time may vary depending on your nail prep, lifestyle, daily activities, and exposure to water or oil.
For short-term wear, adhesive tabs are a quick and gentle option.
Will CurvLife nails fit small or large nail beds?
Yes. Each kit includes 32 nails in 16 different sizes, so most customers can find a comfortable fit.
Our nail widths vary by shape and style. For the most accurate measurements, please check the size details on each product page.
If you are between two sizes, choose the slightly larger size and gently file the sides for a better fit.
How do I know which size fits each nail?
Lay out the nails and match each press-on to your natural nail from sidewall to sidewall.
Each nail has a small number on the back. Once you find the right size for one hand, you can usually use the same numbers for the other hand.
If you are between two sizes, choose the slightly larger one and gently file the sides for a better fit.
How do I know if the nail curve fits?
CurvLife nails are designed with a natural curve to fit most nail shapes.
The nail should sit comfortably on your natural nail without strong pressure or large gaps. If the fit feels too tight or uncomfortable, try another size before applying.
Can I reuse the press-on nails?
If you apply them with adhesive tabs and remove them gently, some nails may be reusable.
If you apply them with CurvLife semi-solid nail glue or use remover during removal, reuse may be limited because glue residue or remover can affect the nail surface.
Order
Why was I charged more than expected?
After placing your order, you’ll receive an order confirmation email with your order details.
You can also log in to your CurvLife account and view your order history in the My Account section.
If you can’t find your order confirmation email, please check your spam, junk, or promotions folder first.
If you still need help, contact us at service@curvlife.com with the email address used to place the order.
Can I cancel or change my order?
Please double-check your shipping address and order details before placing your order.
Once an order has been placed, we may not be able to modify or cancel it, especially if it has already been processed or shipped.
If you need to add or remove items, update your shipping address, or ask a question about your order, please contact us at: service@curvlife.com
We’ll do our best to help find the best solution.
Can I use multiple coupon codes in one order?
Only one discount code can be used per order.
If multiple discounts are available, the best eligible offer will be applied according to the promotion rules.
Why isn’t my coupon code working?
Some discount codes may:
- Not be combined with other offers
- Require a minimum purchase amount
- Apply only to selected products
- Have an expiration date
If you need help, please contact us at service@curvlife.com and include the code you’re trying to use.
What payment methods do you accept?
Small differences may sometimes occur due to currency conversion, international bank fees, taxes, or regional payment processing fees.
CurvLife does not add unauthorized charges to your order.
If you have concerns about a charge, please contact us at service@curvlife.com with your order number and a payment screenshot so we can review it with you.
Shipping & Delivery
How is shipping calculated?
We offer free shipping on orders over $49.99 USD.
For orders under $49.99 USD, shipping fees are calculated based on your delivery location and order total. Current standard shipping fees include:
- Canada: $7.99 USD
- Other international regions: $6.99 USD
The final shipping fee will be shown at checkout before you place your order.
Do you offer free shipping?
Yes. We offer free worldwide shipping on orders over $49.99 USD.
How long does shipping take?
Most orders are processed within 1–2 business days.
Estimated delivery time depends on your shipping destination. U.S. orders usually arrive within 3–7 business days after shipment. International delivery times may vary by country, customs processing, carrier delays, and local delivery conditions.
During holidays, promotions, or peak shipping periods, delivery may take slightly longer than usual.
How can I track my order?
Once your order ships, you’ll receive a shipping confirmation email with your tracking number and tracking link.
You can use the tracking link in your email to check the latest delivery updates.
My tracking hasn’t updated. Is this normal?
Yes, this can happen. Tracking updates may take a few days to appear, especially shortly after your package has been processed or during busy shipping periods.
If your tracking has not updated for an extended period, please contact us at service@curvlife.com with your order number, and we’ll help look into it.
My package hasn’t arrived. What should I do?
If your package has not arrived within 25 days of placing your order, please contact us at: service@curvlife.com
Please include your order number so our support team can help investigate as quickly as possible.
Can I change my shipping address after placing my order?
Once an order has been processed or shipped, address changes may no longer be possible. If the package is already in transit, you may also be able to contact the carrier directly to request an address update or delivery hold.
Why does my package say “Delivered,” but I can’t find it?
We recommend checking:
- Your mailbox
- Front door or porch
- Building office or reception area
- Nearby safe delivery locations
- Neighbors or household members
Sometimes carriers may mark packages as delivered shortly before the final drop-off.
If you still cannot locate your package, please contact us at service@curvlife.com with your order number, and we’ll help investigate.
My package is being returned to sender. What should I do?
Packages may be returned due to an incorrect or incomplete address, failed delivery attempts, or carrier delivery issues.
Please contact us at service@curvlife.com with your order number and correct shipping address. We’ll help review the situation and arrange the best possible solution once the package is returned.
Returns & Refunds
What is your return policy?
At CurvLife, we want you to feel confident shopping with us. If there’s an issue with your order, our support team will do our best to help find the best solution.
Returns and exchanges may be requested within 60 days of purchase.
How long do I have to request a return or exchange?
You may request a return or exchange within 60 days from the purchase date.
To be eligible, return packages must be shipped within this timeframe.
How do I start a return or exchange?
Please contact us at: service@curvlife.com
Please include:
- Your order number
- The reason for the return or exchange
- Photos, if applicable
Our team will review your request and guide you through the next steps.
Do I need to pay for return shipping?
If the item is damaged, defective, or incorrect, CurvLife will cover the return shipping cost after review.
For returns related to personal preference, such as color, style, or sizing, return shipping costs may apply.
How long do refunds take?
Refunds are typically processed within 5 business days after the returned package is received and inspected.
Funds will be returned to the original payment method used during checkout. Please note that banks and payment providers may require additional processing time.
Product Safety & Materials
What materials are used in CurvLife press-on nail sets?
CurvLife press-on nails are made from Soft Gel Acrylic, a lightweight and durable material designed to provide a smooth, salon-quality finish.
What are CurvLife adhesive tabs and nail glue made of?
CurvLife adhesive tabs are made with Ethylhexyl Acrylate.
CurvLife nail glue is made with PMMA and Ethyl Cyanoacrylate in small amounts. These ingredients help create a secure bond between the press-on nail and the natural nail surface.
Customer Service
How can I contact CurvLife?
You can contact us anytime at: service@curvlife.com
Our support team will be happy to help with orders, shipping, returns, product questions, or application concerns.